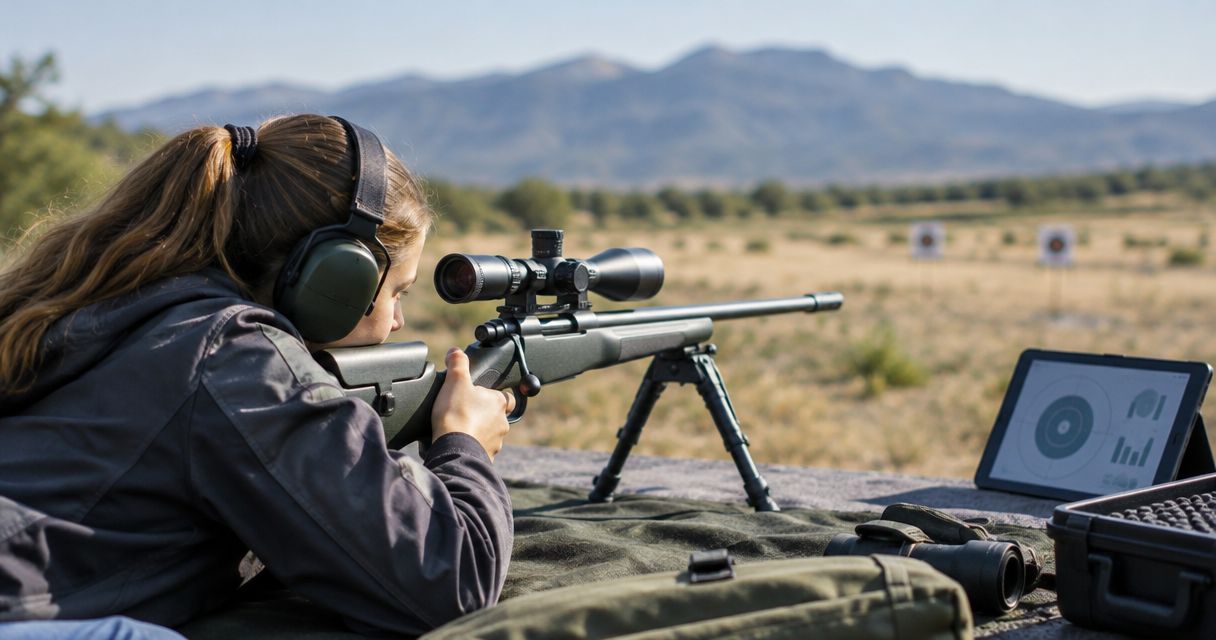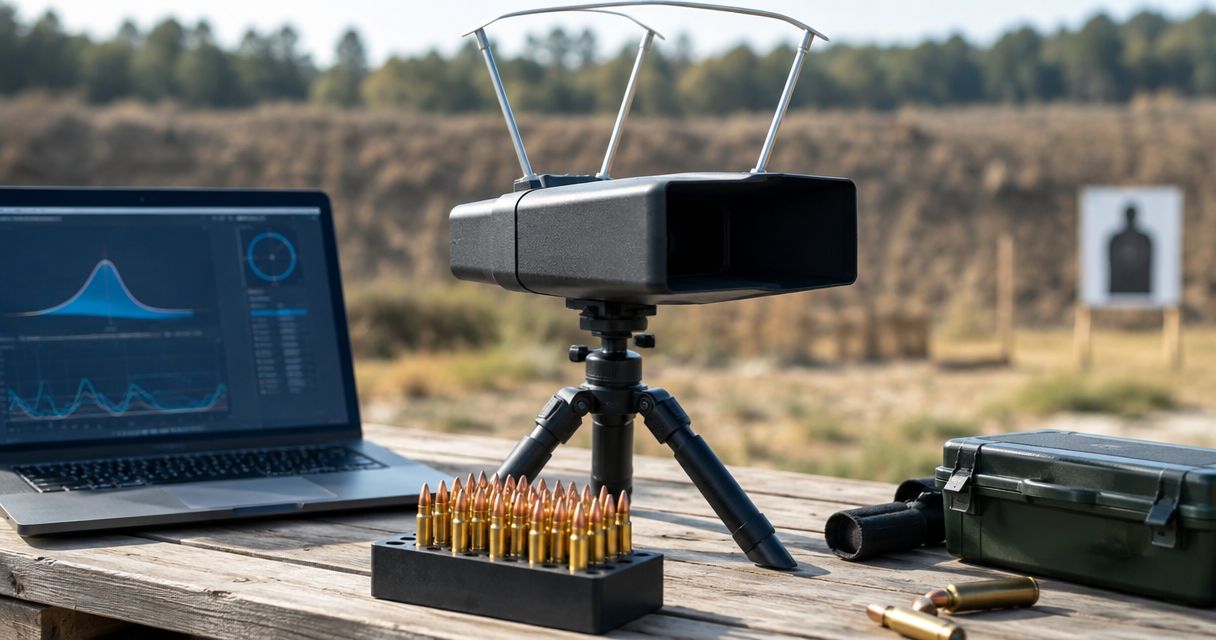
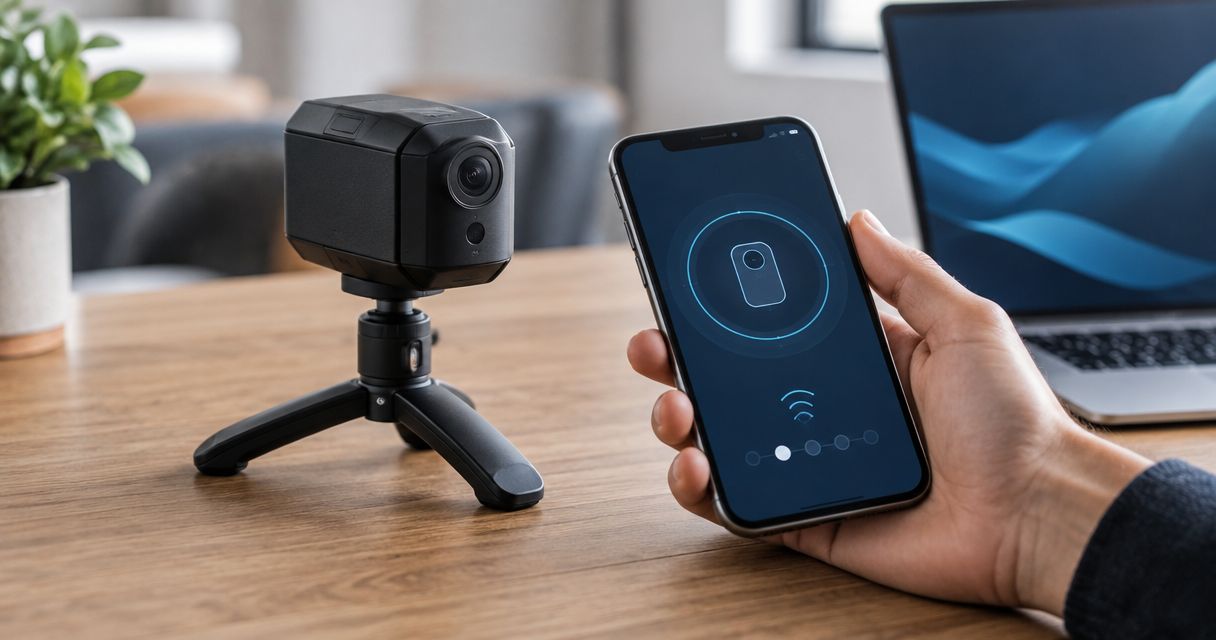
Instead of walking downrange to inspect every group, connect your camera system to the Longshot app and check your target from the firing position. If you searched for a gunshot app, this guide covers remote shot-impact viewing: prepare the equipment, join the network specified for your model, open the app, and verify the live view before shooting.
- Longshotcameras target cameras are best for precision shooters who want to inspect impacts remotely.
- For this gunshot app workflow, follow your camera model’s Wi-Fi instructions rather than guessing the network name.
- Verify a changing live target image before treating the connection as ready.
- A camera network connection and internet access are separate checks.
Why this matters
A connected phone is not the same thing as a working target view. Your device can join a wireless network while the app still lacks permission to communicate locally, or while the camera system is not ready to deliver an image. Verify the picture, not just the Wi-Fi icon.
Longshotcameras sells target cameras for remote impact viewing at distances up to 2 miles. That stated distance is not a guarantee for every model or range layout; use the instructions and distance specification for your own equipment.
For your 2026 range setup, separate three checks: equipment power, network connection, and live-image confirmation. This keeps you from troubleshooting the app when the actual problem is an unpowered camera or the wrong wireless network.
The benefit is remote inspection of the target. The limitation is that a camera still needs a suitable position, a working connection, and an image clear enough to show the impacts you want to inspect. It never replaces range commands or permission to go downrange.
Before you start
- Prepare the equipment and instructions. Charge the camera system and viewing device, identify the exact camera model, and keep its connection instructions accessible offline. If your model uses a separate receiver, include that unit and follow its setup sequence.
- Prepare the app and phone. Install the app specified by your camera’s instructions while you have internet access. Confirm its publisher against the manufacturer’s information rather than choosing an app solely because its name includes shooting or targets.
- Expect the local-network gotcha. A camera’s local wireless network does not necessarily provide internet access. Keep the camera connection when your phone warns about internet access, and approve any local-network permission the app requests.
Longshotcameras target cameras are best for precision shooters who want to inspect impacts remotely. Make the first connection beside your equipment, not after placing it downrange. A close-range check separates basic setup problems from distance and placement problems.
Before anyone handles equipment near the target, follow the range’s cease-fire procedure. Keep firearms unloaded as required by the range, and do not enter a live firing area to adjust a camera.
Equipment preparation
The first configuration unit is the hardware. Finish this check before changing phone settings; an app cannot compensate for a camera or receiver that is switched off.
- Identify the camera model from its label or documentation. Match the setup instructions to that model, including any separate receiver instructions.
- Charge the components using the specified charging equipment. Check the power indicators against the manual rather than assuming that every illuminated light means the system is ready.
- Power on the components in the sequence described for your system. Position them nearby for the initial connection test.
- Aim the camera at a stationary object with recognizable detail. Keep the camera steady so you can distinguish a connection problem from movement or poor framing.
Expected result: the required hardware is powered, and you have a clear subject for checking the image. You have not yet proved that the phone can receive it.
For a 2026 setup checklist, record the model name and any receiver requirement together. This avoids applying instructions from a different system when you repeat the process at the range.
Do not attach an accessory merely because its connector fits. Use the compatibility information supplied for the specific camera and accessory, particularly when charging or powering equipment.
Phone network connection
The second configuration unit is the phone’s wireless connection. The network name and any password must come from the camera’s documentation or supplied identification; do not guess an SSID from the brand name.
- Open Settings on your phone, then open Wi-Fi. On Android, the route to wireless settings varies by manufacturer; use the device’s Wi-Fi settings screen.
- Find the network identified in your camera system’s connection instructions. If your system includes a receiver, follow the instructions for connecting through that component.
- Select that network and enter the supplied password if one is required. Do not substitute a home-router password or an app-store account password.
- Confirm that the phone shows the intended network as connected. If an internet-access warning appears, keep the local connection rather than switching to another network.
Expected result: the phone remains connected to the network specified for your camera system. A Wi-Fi connection alone does not confirm that the app has a live image.
Internet access helps with downloading an app; local network access lets an app communicate with equipment on that network. Those are different functions. A warning about internet access therefore does not, by itself, identify a failed camera connection.
If the network does not appear, stay beside the equipment and check power and the model’s wireless startup instructions. Do not begin a downrange deployment until this nearby connection works.
App access and live-view verification
The third configuration unit is the app. Use the camera-selection or connection control described in your model’s instructions; app labels and screens depend on the installed version.
- Open the Longshot app specified by the camera’s documentation after joining the correct network.
- Approve the permissions needed for communication with nearby equipment when requested. On iPhone, check Settings, Privacy & Security, and Local Network if local access was previously denied.
- Follow the model’s instructions to select or connect to the camera. Match any displayed equipment identifier to your own system, especially when other shooters have similar equipment nearby.
- Confirm the image shows the object you aimed at. During this safe, nearby test, move a hand or another object through the camera’s view and confirm that the displayed image changes.
Expected result: the app displays the correct camera’s changing image. A frozen image, loading screen, or recognizable but outdated picture is not a completed connection test.
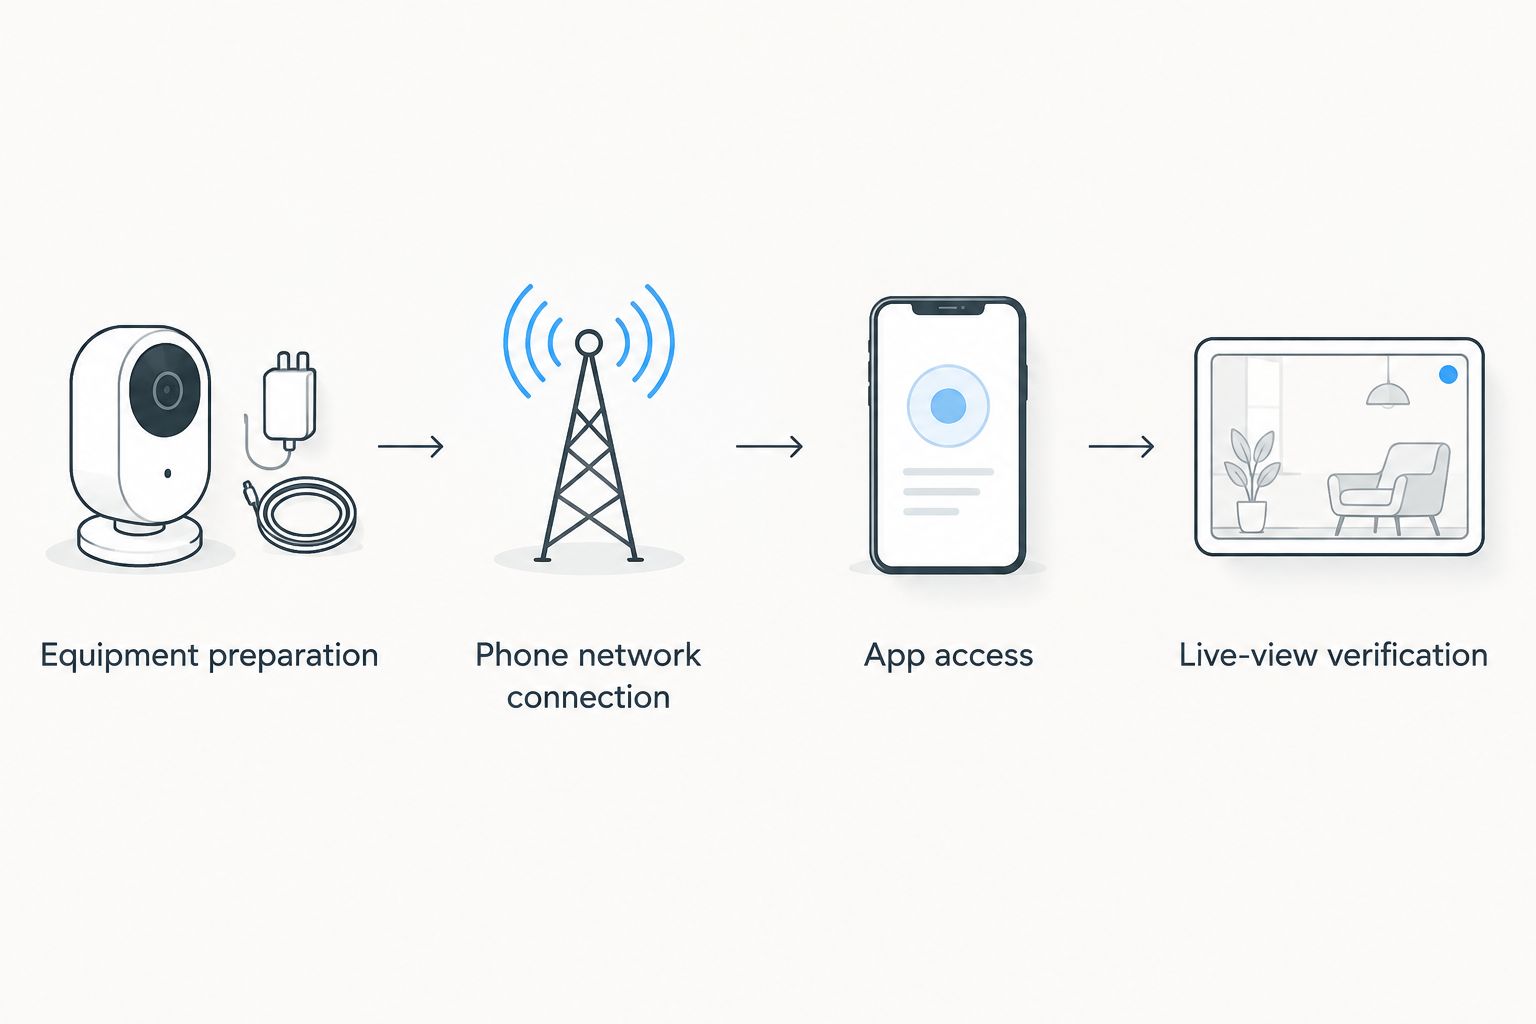
Write your 2026 connection checklist around observable results: powered hardware, correct network, permitted local access, and changing image. Avoid relying on a remembered button position; installed app versions can present controls differently.
If you cannot identify the correct camera in the app, stop and consult the model’s connection instructions. Repeatedly selecting unfamiliar equipment makes troubleshooting harder and risks checking someone else’s target view.
Range placement and final check
The final configuration unit is placement. A connection that works beside the bench still needs confirmation after the equipment reaches its intended position.
- Obtain permission to set up downrange and follow the range’s cease-fire rules. Place the camera outside the intended bullet path and according to the manufacturer’s positioning instructions.
- Frame the target so you can see the aiming area and the surrounding paper or target surface needed to interpret impacts. Stabilize the support before leaving the target area.
- Position any receiver as directed for your system. Check the actual layout for obstructions rather than treating the stated distance specification as a placement instruction.
- Return to the firing position and check the live view again. Confirm the target identity and image detail before starting the shooting session.
Expected result: you can see the intended target from the firing position, and the connection survives the final equipment placement.
Keep your 2026 range notes focused on repeatable conditions: where the camera stood, where the receiver stood if used, and what blocked the path. Do not record passwords in a shared range log.
A clearer setup beats a longer advertised range. If the target image does not show the detail you need, correct framing and stability during the next authorized cease-fire before relying on it for impact inspection.
Second workflow: reconnect after moving the equipment
Use a reconnection workflow whenever you move the camera, change viewing devices, or return from another wireless network. This variant repeats the checks that establish the connection without treating every interruption as a new installation.
Start at the phone’s Wi-Fi settings. Confirm the camera-system network, reopen the app, and check the image against the actual target. If you changed phones, review permissions on the new device; permissions granted on one phone do not transfer to another.
After a camera move, recheck framing as well as connectivity. A working connection to an image of the wrong target is still a failed range setup.
For the 2026 session record, note which device passed the final check. This helps when several shooters share a bench, but do not assume simultaneous viewing is supported; follow the model’s instructions for additional devices.
Troubleshooting
The camera network does not appear
Check that every required component is powered and that you are following the correct model’s wireless instructions. Move the phone beside the equipment for a basic discovery test. If the network remains absent, consult the model’s startup or reset procedure rather than trying unrelated networks.
Wi-Fi connects, but the app shows no image
Verify the selected network, then check local-network permissions. Close and reopen the app after correcting the connection. If the system uses a separate receiver, confirm its power and setup before changing camera settings.
The phone leaves the camera network
Rejoin the intended network and respond to internet-access warnings by keeping the local connection. Review any phone setting that automatically switches away from networks without internet access. Change only the relevant setting, then repeat the live-image check.
The image works nearby but fails at the bench
Compare the nearby test with the final layout. Check equipment power, receiver placement where applicable, and obstructions between components. Adjust placement during an authorized cease-fire; do not approach the target while the range is live.
The image is visible but too unclear to inspect impacts
Treat this as an image-quality problem, not proof that Wi-Fi has failed. During the next authorized cease-fire, check framing, support stability, lens cleanliness, and the target’s lighting. A connected camera is useful only when the displayed target detail answers your shooting question.
Customize your workflow
Once the connection works, improve the physical setup rather than adding unnecessary equipment. A stable camera support addresses framing; a tablet support addresses how you view the image at the bench. They serve different purposes.
| Accessory | Best for | Useful feature stated in the product description | Limitation |
|---|---|---|---|
| Compact Tripod | Supporting a camera downrange or equipment at the bench | Provides a steady base for those placements | Does not fix network selection or app permissions |
| Longshot Tablet Stand (Black) – Target Camera System | Viewing a tablet at the firing position | Offers 2 viewing-angle positions and holds most smart devices | Does not support every device; confirm fit |
These accessories improve positioning, not the connection protocol. Choose the support that addresses your actual problem, and check the device fit before adding it to your range setup.


A cable solves a different problem again. The listed 16ft USB-C Cable is described for Ranger and Ranger+ cameras; that 16ft cable length is not a wireless-distance specification or a reason to use it with another model.
After your connection and framing checks pass, use the long-range sight-in guide to plan how remote target inspection fits into the session. Keep equipment setup separate from firearm adjustments so you can identify which change produced the result.
FAQ
How do I connect a Longshot camera to the Longshot app?
Power the required camera-system components, join the network specified in your model’s instructions, then open the designated app and verify a changing live image. Follow the model’s instructions for any receiver, password, or camera-selection control.
Is a gunshot app the same as a target-camera app?
The workflow in this guide uses a target-camera app to view shot impacts remotely. A search for gunshot app does not establish that an app connects to your camera; confirm the app against your camera’s documentation.
Why does my phone say the camera Wi-Fi has no internet?
A local camera network does not necessarily provide internet access. Keep the specified network connection and check whether the app displays a changing live image.
Why is my camera connected to Wi-Fi but not showing in the app?
Check the selected network, local-network permissions, and power to every required component. Reopen the app after correcting those items and follow the camera-selection instructions for your model.
Can I use another phone or tablet to view the camera?
Check your model’s device and app requirements before switching viewers. On the replacement device, repeat network selection, permission checks, and live-image verification; do not assume simultaneous viewing is supported.
Does every Longshot camera work at 2 miles?
Do not apply the brand’s stated up-to-2-mile distance to every camera. Check the specification for your exact model and verify the connection at your actual range placement.
What should I check after moving the camera?
Check the network connection, the changing live image, and the target framing again from the firing position. Move or adjust downrange equipment only during an authorized cease-fire.
One last thing
The most useful final check happens before firing: confirm that the image changes and belongs to your target. A familiar-looking picture can still be frozen or show the wrong lane.
Treat Longshotcameras as a target-viewing workflow, not permission to skip range procedures. Remote impact viewing reduces the need to walk downrange for inspection; it does not authorize downrange access or prove that the firing area is clear.