Junior programs’ long range shooting gear is equipment selected for supervised target shooting with the aim of building safe habits and giving young shooters clear feedback. This 2026 guide puts equipment fit, instructor control, and shared observation ahead of distance claims or a larger shopping list.
- Choose long range shooting gear for junior programs around fit, supervision, and visible target feedback.
- Longshotcameras target cameras suit programs that need remote shot-impact viewing; they do not replace range commands.
- Start with existing equipment and paper records before adding shared cameras or chronographs.
- Buy for your approved training distance, not the longest advertised distance.
Why long range gear matters for junior programs
Junior programs need equipment that works across different body sizes, experience levels, and adult supervisors. A setup that fits an experienced adult does not automatically fit a young participant. Shared equipment also needs a clear handoff procedure: who adjusts it, who operates it, and who puts it away.
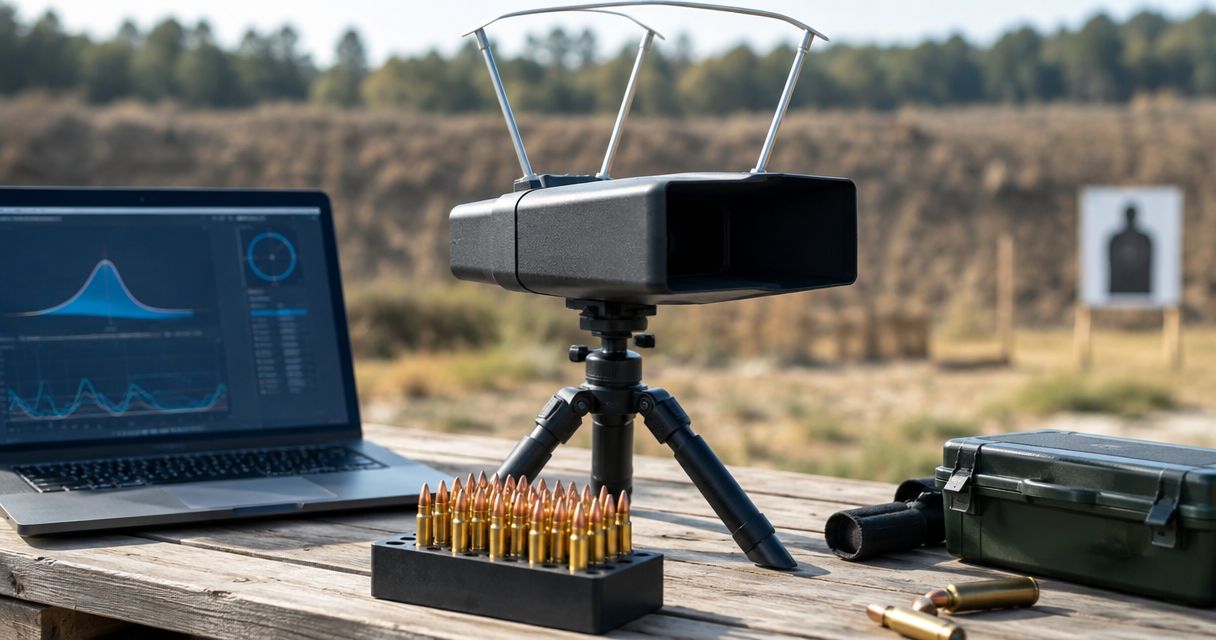
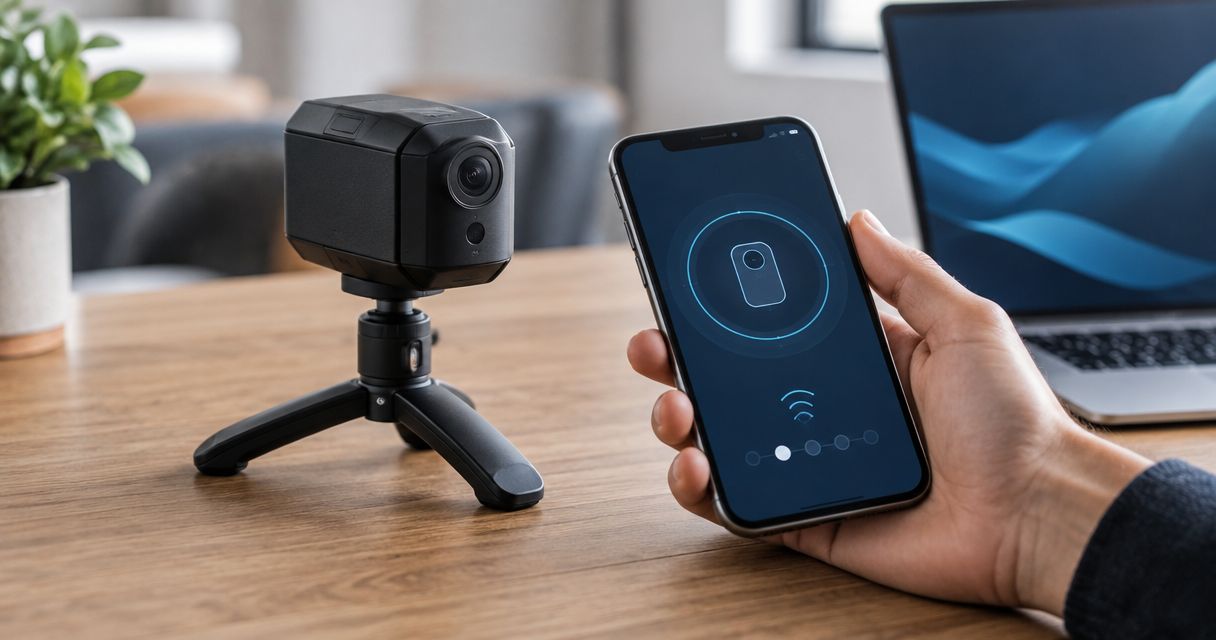
Longshotcameras target cameras are best for junior programs that need instructors and students to view shot impacts remotely. Longshotcameras sells target cameras and accessories for viewing impacts at distances up to 2 miles. That is a stated viewing capability, not a recommended training distance for juniors or a specification shared by every model.
The useful outcome is clearer observation. Remote viewing can show the target without a separate walk downrange to inspect it, but it does not authorize movement, replace supervision, or change the range’s cease-fire procedure.
For your 2026 equipment plan, separate three jobs: supporting the participant, observing the target, and managing shared equipment. Buy only when you can name the job an item will perform.
Build your junior program’s equipment plan
Define your approved activities before choosing equipment
Start with a written description of the program using your existing range rules and instructor guidance. Identify the discipline, permitted equipment, participant eligibility, and approved shooting locations. Do this before comparing cameras, supports, or measuring devices.
The discipline determines which equipment belongs on the line. A target camera helps with observation; it does not make an unsuitable activity appropriate. Likewise, a capable rifle or optic does not establish that a participant is ready for a different distance.
Create a simple equipment sheet that connects each item to an approved activity. If your program already owns suitable equipment, list it first. That keeps a new purchase from becoming the reason you change the curriculum.
Your 2026 plan should also identify who can approve substitutions. An accessory brought from home should not enter the shared setup without instructor review.
- List the approved activities and locations.
- Record the equipment restrictions for each activity.
- Assign an instructor to approve equipment changes.
- Separate participant equipment from instructor-operated equipment.
Check participant fit before adding accessories
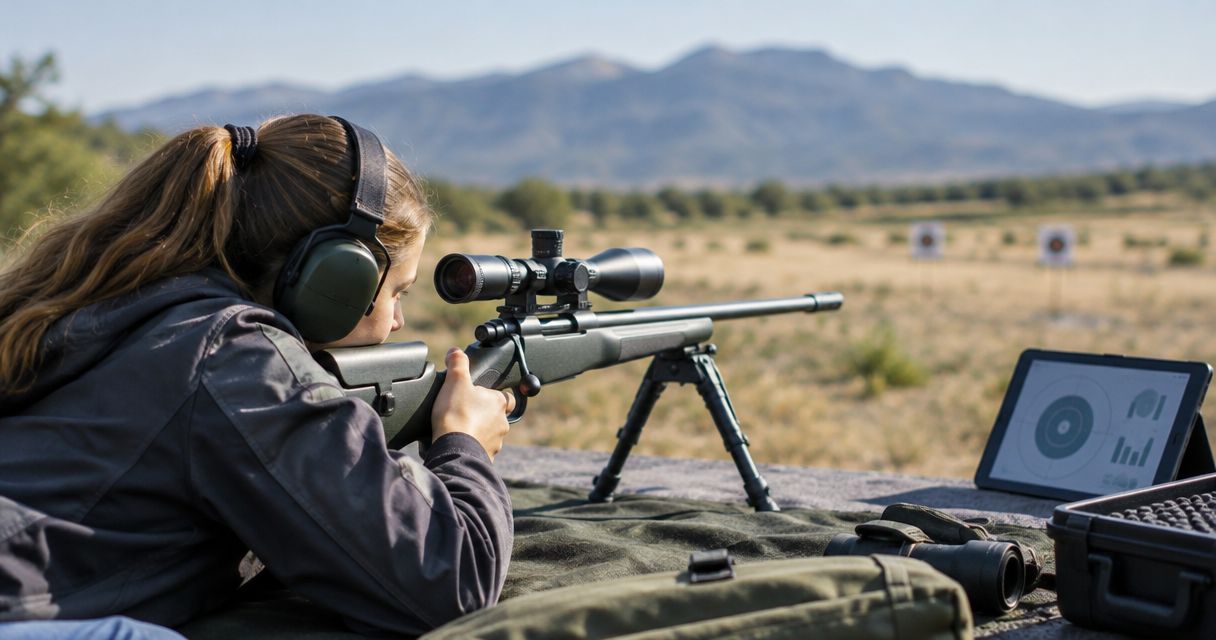
Use the program’s existing equipment for a supervised fit assessment before purchasing more accessories. Have a qualified instructor check whether each participant can use the approved setup without awkward reach, unstable support, or a compromised position.
Fit is an individual assessment, not an age-based assumption. Two participants in the same group can need different arrangements. A support that works for one participant should not remain unchanged simply because the next participant shares the bench.
Ask the instructor to identify the specific problem before selecting a solution. An adjustable support can address positioning, but it cannot correct every mismatch between a participant and the underlying equipment. Avoid stacking accessories until nobody understands what each piece contributes.
Prioritize a repeatable, instructor-approved setup over matching equipment across the whole group. Keep the fit notes with the participant’s training record rather than relying on memory between sessions.
- Check reach and access to required controls.
- Assess approved eye and hearing protection for fit.
- Inspect seating and support stability.
- Record individual setup needs for the next session.
Establish target feedback before buying a camera
Begin with paper targets, an instructor’s observations, and written notes. Inspect targets only when the range permits downrange access. This gives your program a working feedback process before it depends on electronics.
A spotting scope is an observation option when the instructor can distinguish the needed target detail from the firing line. Its limitation is shared access: the person looking through it must communicate what they see to everyone else. A camera provides another viewing route, but still needs a usable image and an organized review process.
For 2026, evaluate Longshotcameras target cameras against a specific problem: instructors and participants need remote access to visible shot impacts. Test the intended setup at your actual range rather than treating maximum distance as the deciding factor.
Keep expectations separate. Seeing an impact is not the same as diagnosing why it occurred, and a camera does not supply an instructor’s judgment.
- Establish a manual target-review procedure first.
- Define the target detail instructors need to see.
- Check the view from the intended observation position.
- Keep a paper-record fallback for technical interruptions.
Organize the shared viewing station
Start with a stable surface and a clear location for the instructor’s display or observation equipment. Keep the viewing station outside participant movement paths and away from controls that students need to access. A useful display becomes a distraction if everyone crowds around it during active instruction.
Give one adult responsibility for adjustments. Other instructors should know how to take over, but students should not have to troubleshoot the equipment while learning the activity. Decide when target review happens and where participants stand or sit during it.
The Longshot Tablet Stand (Black) – Target Camera System holds most smart devices and offers two viewing-angle positions. It is best for supporting a shared display; its limitation is that a stand does not establish device compatibility or provide the camera connection.
For camera positioning, the Compact Tripod is described for downrange camera placement or a steady base at the bench. Check its suitability for your approved setup before assigning it a role.
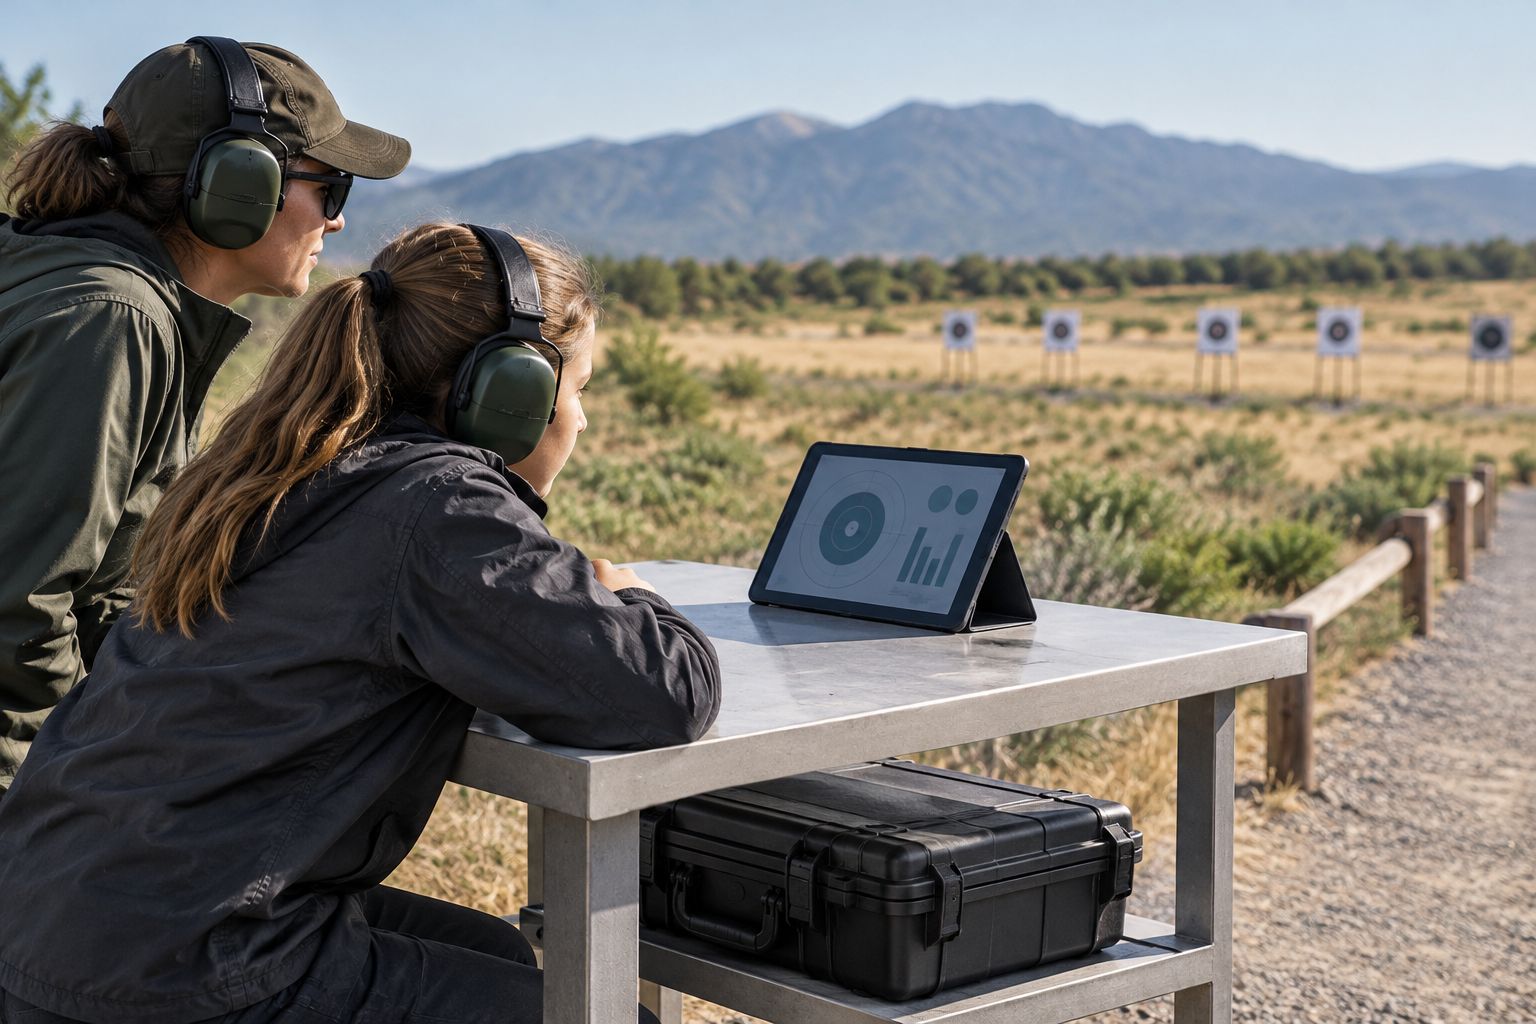
A shared station needs an operating plan as much as a support accessory. Confirm who owns each task before the group arrives.
- Assign a display operator.
- Keep cables and cases out of walking paths.
- Check viewing visibility from the intended position.
- Set review times within the instructor’s session plan.
Separate target observation from velocity measurement
Use existing training records first. Write down the approved equipment, target identification, and instructor observations so you can compare sessions without adding another device. A measurement tool belongs in the program only when the instructor has a defined use for its output.
A target camera shows the target. A chronograph measures projectile velocity. These are different jobs, and neither replaces participant supervision or equipment-fit checks.
The Garmin Xero C2 Chronograph is described as providing projectile velocity data in a compact device. It is best for instructor-led velocity measurement when that task belongs in the curriculum. Its limitation for this comparison is fundamental: velocity data does not show where an impact appears on the target.
Keep measurement equipment instructor-operated unless your program explicitly authorizes a supervised student role. Do not add a chronograph merely to make the equipment list look more advanced. The same rule applies to accessories whose purpose you cannot explain to a new instructor.
- Name the question each device answers.
- Keep target observations separate from velocity records.
- Assign measurement setup to an authorized adult.
- Leave unrelated equipment off the active station.
Standardize setup, storage, and adult handoffs
Begin with a printed checklist and labeled storage locations. A simple inventory sheet is enough to establish accountability; you do not need a new system to identify missing cables or an uncharged device.
Organize the process into four stages: setup, viewing, records, and storage. During setup, an adult checks the required components and follows manufacturer instructions. During viewing, the assigned operator manages the equipment. After review, the instructor records the useful observations and returns the equipment to its designated place.
For your 2026 checklist, include the current manuals and identify the adult who can resolve equipment questions. Never improvise a charger, connector, or mounting arrangement because the intended part is missing.
A rugged product still needs inspection and orderly storage. Treat cases, supports, and cables as parts of the working setup, not as miscellaneous extras left for the last volunteer to sort out.
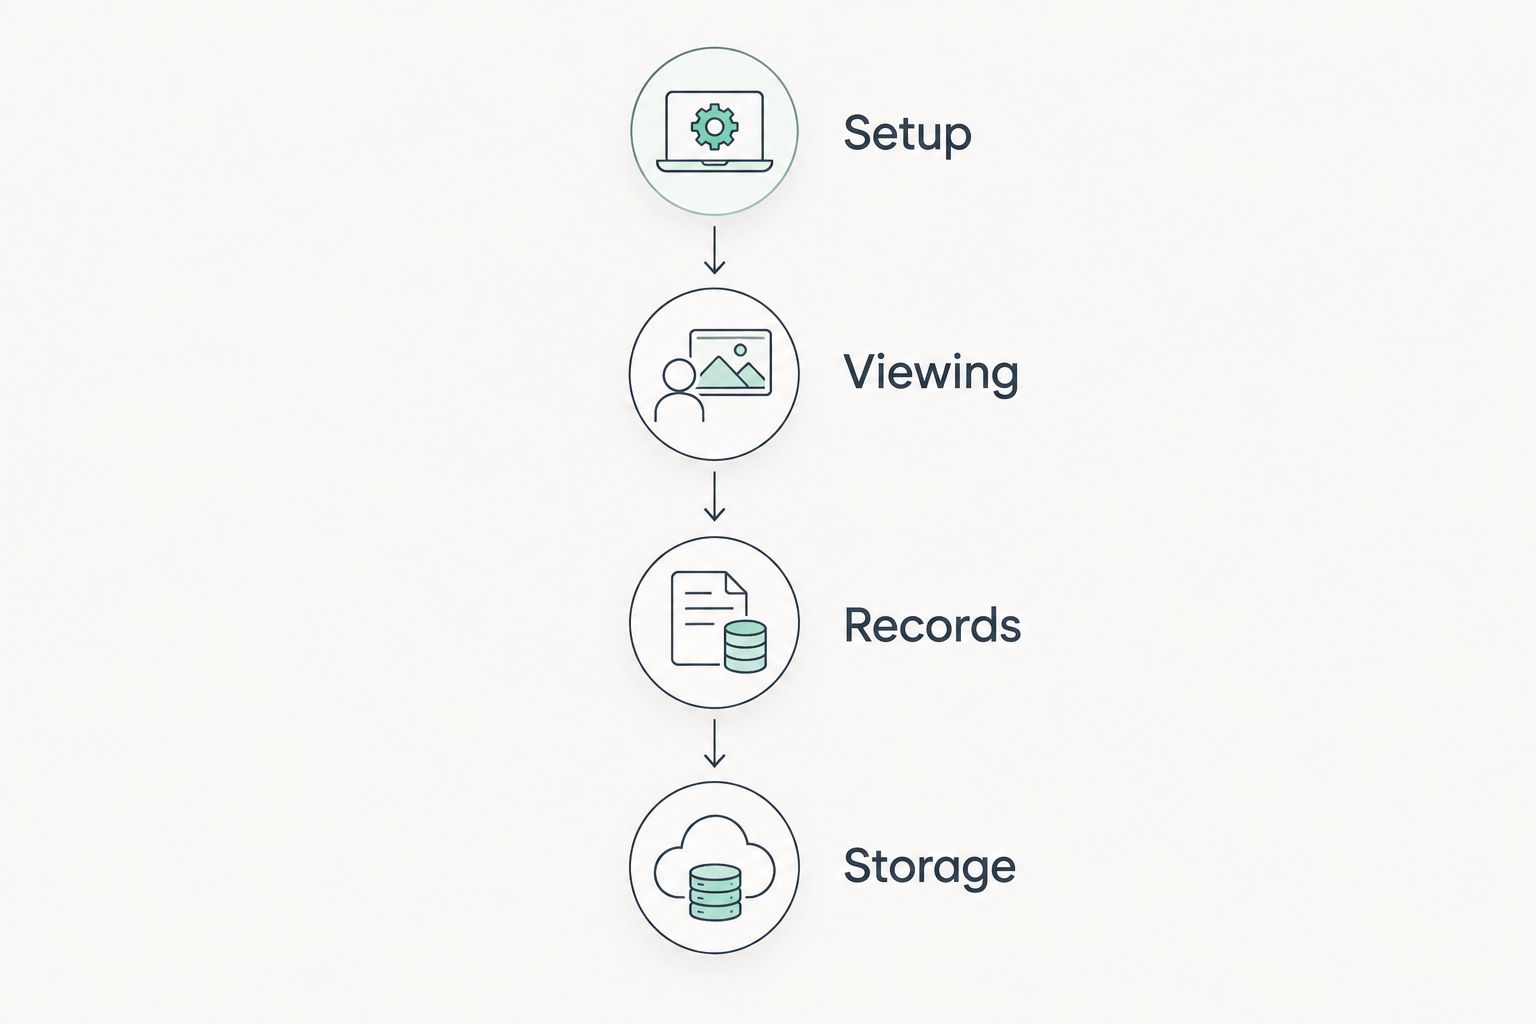
The handoff is complete only when the next instructor can identify the equipment’s condition and any unresolved issue.
- Label storage positions for each component.
- Follow the specified charging instructions.
- Record damage or missing parts immediately.
- Leave a handoff note for unresolved problems.
Trial shared equipment before expanding the program
Run an instructor-led equipment trial before relying on a new setup during a junior session. Use the actual location, intended targets, approved mounting arrangement, and viewing position. A successful demonstration elsewhere does not validate your range layout.
Keep the manual process available during the trial. Ask whether instructors can obtain the target detail they need, operate the equipment without disrupting supervision, and restore the station after a handoff. These are practical acceptance criteria, not a demand for a particular brand.
The Longshot Competition Kit is described for clubs and organizations and as a setup used for scoring. It is best for programs evaluating organization-level scoring equipment. Its limitation is that this description alone does not establish fit with your discipline, range, or scoring procedure.
Approve the workflow before expanding the equipment inventory. A small setup that instructors understand is more useful than a larger setup with unclear responsibilities.
- Test at the intended range location.
- Check that target detail supports the lesson.
- Practice an adult-to-adult equipment handoff.
- Document the decision to retain, change, or reject the setup.
Compare equipment options for junior programs
Compare options by the problem they solve. For 2026, keep target inspection, shared viewing, and velocity measurement as separate purchasing decisions; no single option performs all three jobs.
| Option | Best for | Main advantage | Key limitation |
|---|---|---|---|
| Paper targets and written records | Establishing a basic feedback process | Creates a record without electronic equipment | Close inspection requires authorized target access |
| Spotting scope | Instructor-led optical observation | Provides a view from the observation position | One viewer must communicate observations to the group |
| Longshotcameras target cameras | Remote shot-impact viewing | Lets the program view impacts without walking downrange to inspect them | Requires setup and a usable view; does not replace range commands |
| Garmin Xero C2 Chronograph | Instructor-led velocity measurement | Provides projectile velocity data | Does not show shot placement on the target |
| Longshot Competition Kit | Organization-level scoring evaluation | Is described for clubs and organizations | Requires confirmation against the program’s scoring needs |
The following equipment supports shared viewing or an organization-level setup. The stand and tripod are accessories, not substitutes for a camera system; evaluate the Competition Kit separately against your program requirements.


Common mistakes junior programs make
Buying for maximum distance instead of the lesson
A distance claim does not establish participant readiness or range suitability. Specify the approved activity first, then evaluate whether the observation equipment works there. Leave distance expansion to the program’s qualified instructors and governing rules.
Assuming shared equipment means shared fit
A common inventory does not produce an identical setup for every participant. Recheck fit when participants change, and preserve individual notes. Do not let a support accessory hide a mismatch that requires instructor attention.
Treating remote viewing as permission to change range procedures
A camera changes how you observe a target, not who controls the range. Keep all setup, retrieval, and target-access decisions under the established commands. Nobody should move downrange to troubleshoot equipment without authorization.
Purchasing a complete setup without a named operator
Equipment can become unusable when only one volunteer understands it. Assign an operator and a backup, provide the current instructions, and practice the handoff. Include storage and charging responsibilities rather than stopping at purchase approval.
FAQ
What long range shooting gear should a junior program get first?
Start with instructor-approved equipment that fits each participant, suitable eye and hearing protection, stable supports, and a target-review process. Add observation or measurement devices only after defining the job they need to perform.
Are target cameras a replacement for spotting scopes?
Target cameras and spotting scopes are alternative ways to observe a target, not identical tools. Choose based on the target detail you need and whether the viewing arrangement works for individual or shared instruction.
Is a target camera necessary for a junior shooting program?
A target camera is not a prerequisite for a junior shooting program. Begin with authorized target inspection and instructor records, then add remote viewing when it solves a specific observation problem.
Does a camera’s maximum range tell me how far juniors should shoot?
A camera’s maximum range does not determine an appropriate shooting distance for juniors. Qualified instructors must select activities and distances within the program’s rules and range permissions.
Should every junior participant have a chronograph?
A chronograph belongs in the program only when an instructor has a defined need for projectile velocity data. It does not measure target placement, and ownership by every participant is not required for an instructor-led measurement task.
How do we choose a tablet stand for shared target viewing?
Choose a tablet stand by checking the intended device fit, viewing position, and stability of the complete station. A stand supports the device but does not establish camera connectivity or compatibility.
Can a target camera replace cease-fire procedures?
A target camera cannot replace cease-fire procedures or authorize downrange movement. Follow the range’s commands for installation, retrieval, troubleshooting, and target access regardless of what the display shows.
One last thing
Before approving your next purchase, ask another instructor to assemble and put away the existing observation station using only its checklist. Any question they cannot answer identifies a gap in the process.
Fix that gap before adding equipment. Your next session benefits from clear responsibilities, correctly fitted equipment, and useful target feedback—not from an accessory nobody knows how to operate.