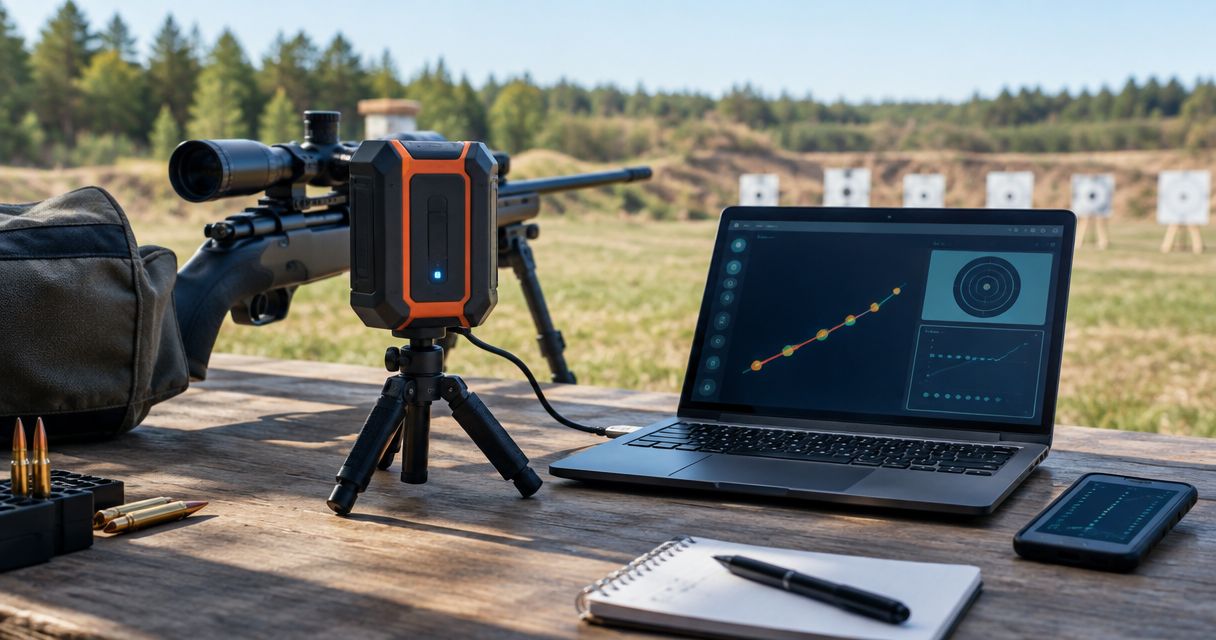
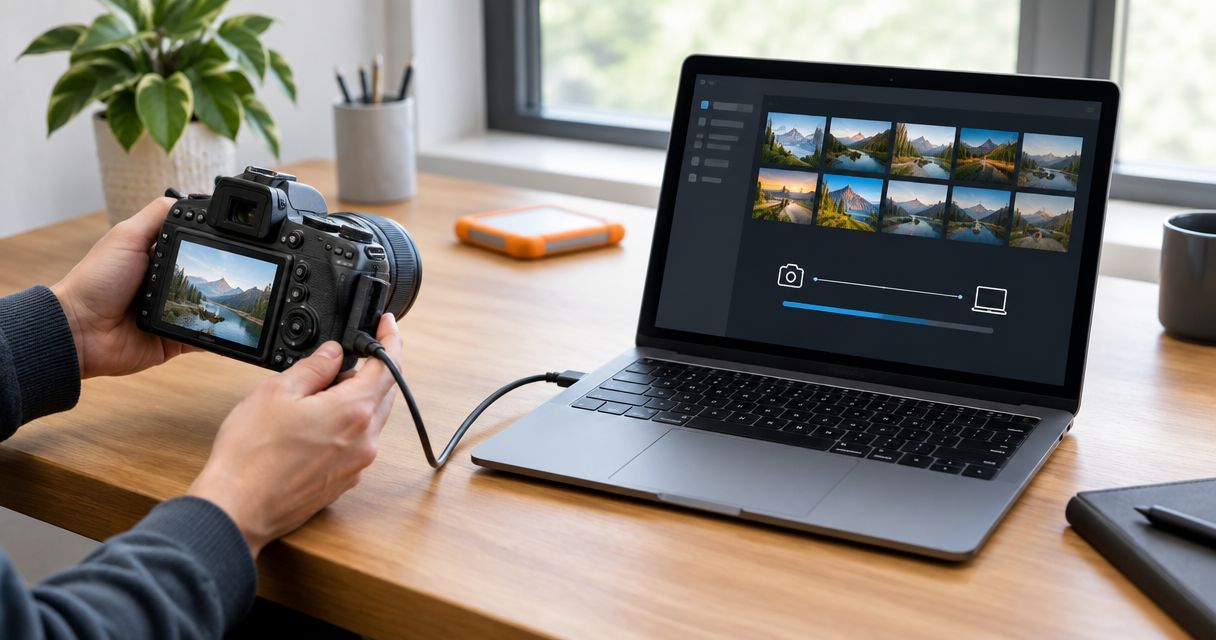
Instead of hunting through your phone after every range session, use a target camera USB transfer workflow that starts with a saved recording, copies it to your computer, and verifies it before deletion. Transfer from the device that actually holds the file; a USB-C socket on a target camera does not establish that the camera supports computer file access.
- For target camera USB transfer, locate the saved recording before connecting a cable.
- Longshotcameras target cameras suit precision shooters who want to view impacts without walking downrange.
- Transfer exported footage from your phone when the camera does not provide documented USB file access.
- Keep the original recording until the computer copy plays correctly and a separate backup exists.
Why this matters
Live viewing and saved footage are different things. Seeing shot impacts on a phone does not prove that a video file exists on the camera, the phone, or a memory card. Start with the saved recording, not the connector.
Longshotcameras sells target cameras for remote shot-impact viewing at distances up to 2 miles. That viewing distance does not describe a USB transfer capability. For your 2026 footage archive, the important question is simpler: which device contains the recording you can open after the session ends?
A repeatable transfer routine also preserves context. A clip without its target identifier, session date, or shooting notes is harder to interpret later. Store those details beside the original file rather than relying on memory.
Before you start
- Find the recording and confirm export access. Have the camera's instructions, the recording device, and access to its saved media. App connection and file export are separate tasks; the camera-to-app connection guide covers the connection stage.
- Prepare the destination. Have an unlocked phone or documented camera storage source, a computer with enough free space, and a data-capable cable that fits both devices. Use a card reader only if your camera's instructions identify removable recording media.
- Check the hidden obstacle: charging is not file transfer. A charging cable, a charging-only port, or footage held inside an app can stop the process. Export app-held footage to accessible phone storage before expecting a computer to see it.
Do the first transfer test before relying on the workflow at the range. Use 1 short clip, verify the destination, and retain the source. This checks the complete route without putting your only copy of a session at risk.
Choose your transfer route
Choose the route by where the saved file lives, not by which cable you already own. These are conditional workflows, not a claim that every target camera supports every method.
| Transfer route | Best for | Advantage | Limitation |
|---|---|---|---|
| Phone-to-computer USB | Recordings exported to accessible phone storage | Moves saved media without requiring camera storage access | Requires phone permissions and an accessible exported file |
| Removable-media reader | Cameras documented to save recordings on removable media | Lets the computer read the recording medium directly | Does not apply to cameras without supported removable recording storage |
| Direct camera USB | Cameras documented to support computer file access | Avoids a separate phone-export stage | A USB connector alone does not establish support |
Phone-to-computer USB is the appropriate route when the exported recording lives on your phone. Direct camera USB is appropriate only when the camera's instructions explicitly support it. Do not spend a range session troubleshooting an unsupported connection.
For Longshotcameras target cameras, confirm the recording location and supported export method for your exact model before choosing a route. Remote viewing capability is not evidence of removable storage, webcam operation, or USB mass-storage support.
Cable selection without assumptions
Match the connectors, then verify the cable supports data. A cable that powers a device can still fail to carry files, and an adapter adds another connection to check.
The same rule applies in 2026 even when both ends use USB-C. Connector shape is not a file-transfer specification. Do not treat a camera accessory cable as a recording-transfer solution unless its documentation establishes that use.
Recording source
Locate and export the saved clip
- Open the app or device location where you recorded the session. Find a saved clip rather than leaving a live camera view onscreen.
- Play the clip and confirm it shows the intended target. Check the beginning and end so you do not transfer an empty recording or the wrong string.
- If the recording exists only inside an app, use that app's documented export or sharing function to save a local file. Choose an original-quality export when the app offers that choice.
- Open the exported file outside the camera app. On a phone, use its photo library or file browser, depending on the destination you selected.
- Note the filename and storage location. On Android, check the export destination rather than assuming every recording goes into DCIM, Movies, or Pictures.
Expected result: you can identify and play a saved file independently of the live camera connection.
Do not substitute a screenshot for a recording you intended to preserve. A screenshot captures one displayed moment; it does not retain the clip's sequence. Keep screenshots as separate reference images when they add useful context.
If no saved recording exists, connecting USB will not create one retrospectively. Return to the camera or app's documented recording procedure and test it before your next session.
USB connection
Connect the device that contains the file
- Connect the recording device to your computer with a known data-capable cable. Keep the phone unlocked during initial authorization.
- On Android, open the USB connection notification and choose File transfer if that is the label displayed. Some devices use different wording; select the documented data-transfer mode rather than charging-only mode.
- On an iPhone, approve Trust if the Trust This Computer? prompt appears, then enter the device passcode when requested. Trust authorizes access; it does not expose every app's private storage.
- On Windows, open File Explorer and check This PC for a supported connected device. On a Mac, use Image Capture for supported photo-library media on an iPhone; use a documented compatible transfer method for other storage sources.
- Locate the exported clip. If the camera itself is your source, follow its documented computer-access procedure instead of trying phone-specific settings.
Expected result: the computer can list the exported recording or present it for import.
An Android phone does not automatically behave like an ordinary external drive on every computer. If your operating system needs compatible transfer software, use the phone manufacturer's documented method rather than installing an unknown utility from a search advertisement.
For iPhone footage saved in an app's private storage or a location outside the photo library, a photo-import utility is not the right place to look. Return to the app's supported export route and select a destination your computer can access.
Computer archive
Copy, verify, and back up
- Create a destination folder before importing. Use a clear 2026 session name, such as
2026-range-session-target-A, without adding distances or ammunition details you have not recorded. - Keep 3 folders inside the session:
Originals,Review, andNotes. Put untouched exports inOriginals, working copies inReview, and session context inNotes. - On Windows, select the source files in File Explorer, choose Copy, open
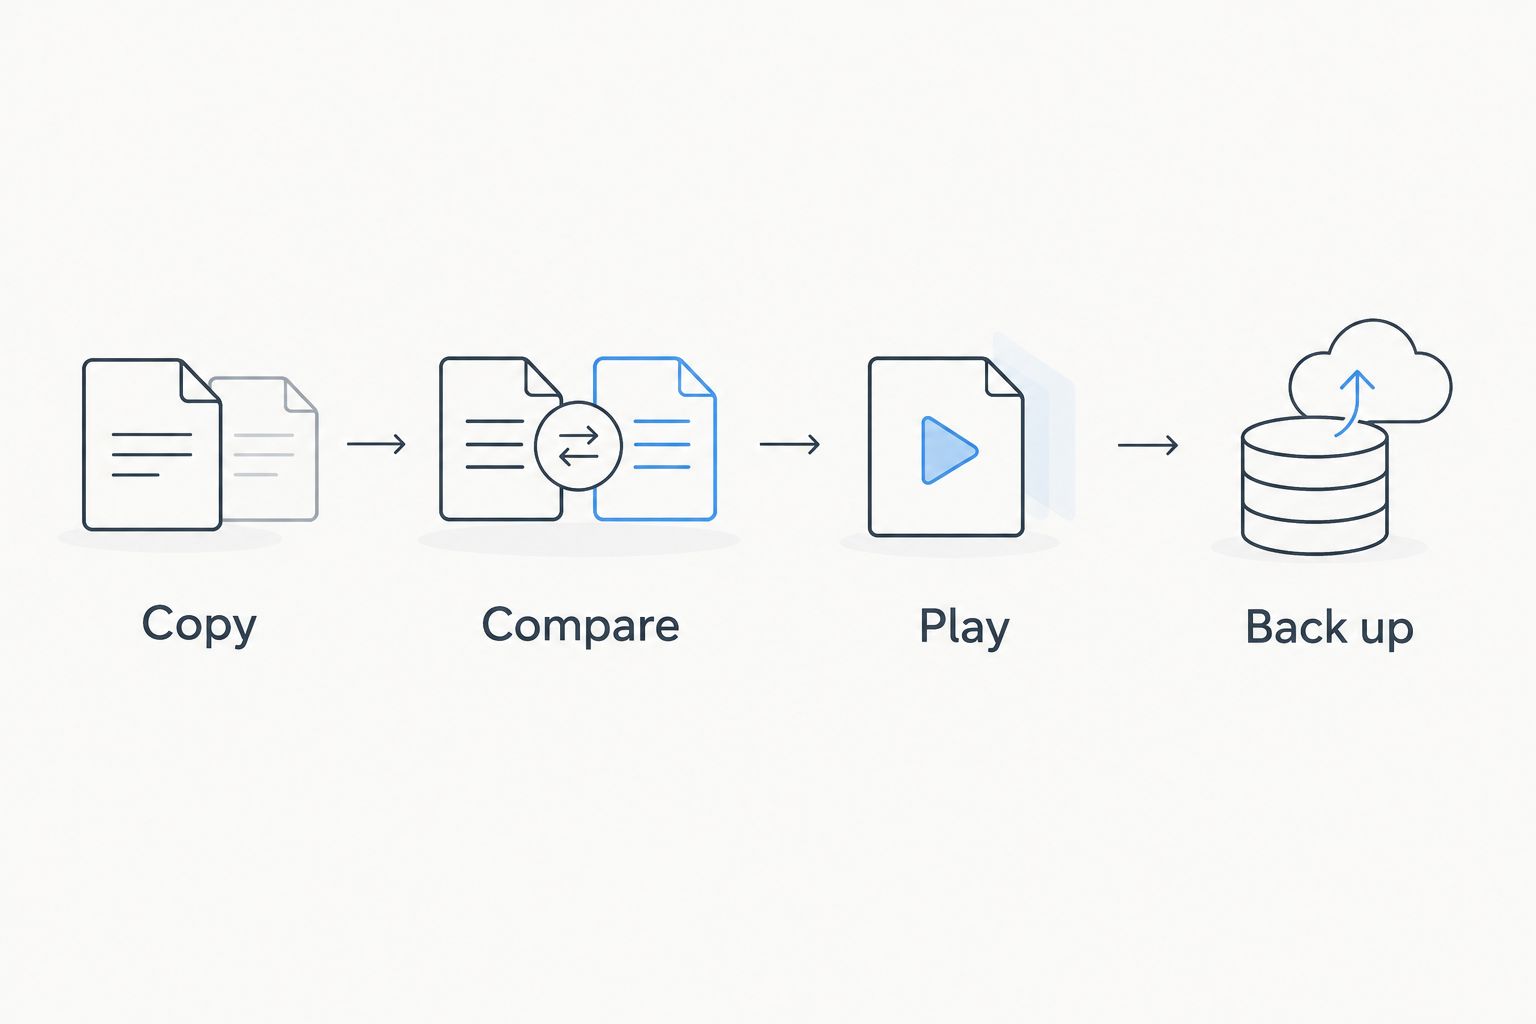
Originals, and choose Paste. On a Mac, import supported phone media with Image Capture, or copy files from mounted storage in Finder. - Wait for the transfer to finish. Compare the filenames and file count with the source. When both locations expose file sizes, compare those too.
- Open the computer copy. Play the beginning, a point in the middle, and the end; inspect whether the target detail needed for review remains visible.
- Create a backup on a separate storage destination. Maintain 2 verified copies before deleting the recording from the source device.
Expected result: the computer holds a playable original export, and a separate destination holds a verified backup.
Copy first; do not move your only recording. A matching file count is useful, but it does not prove that every clip plays correctly. Playback verification catches problems a folder listing cannot show.
Keep editing separate from preservation. Trimming, captions, and annotations belong in Review; retain the exported recording in Originals. This preserves the reference file when you later compare a cropped clip with the full target view.
Second workflow: add footage after each range session
A repeat-session workflow uses the same transfer route but adds a consistent intake check. It does not require automatic synchronization, camera integrations, or an unsupported background connection.
- Create a new session folder instead of adding unrelated footage to the previous outing.
- Copy the newly exported clips into that session's
Originalsfolder. - Record the target identifier and relevant shooting notes in
Notes. Use only details you actually recorded at the range. - Verify the imported clips, then update the separate backup.
- Create shorter review copies only after preserving the originals.
Expected result: every session has its own footage, notes, and verified backup, without mixing target identities or overwriting earlier exports.
For your 2026 archive, put the session date in the folder name rather than relying solely on a file's modified timestamp. Copying, exporting, or editing can change timestamps. A folder name records your chosen session identity explicitly.
This approach requires a deliberate import after each outing. Its advantage is control: you decide which session owns each recording and verify the files before clearing phone storage.
Troubleshooting
The device charges but never appears
Replace the cable with a known data-capable cable and connect directly to the computer rather than through a hub. Unlock the phone and check its USB mode. For a camera connection, confirm documented file-transfer support before changing computer settings.
The phone appears, but the footage is missing
Check the app's export destination. A clip visible inside an app is not necessarily exposed through USB browsing or photo import. Export it to accessible storage, open that exported file on the phone, and reconnect if needed.
The copy stops before finishing
Check destination free space, reconnect the cable securely, and retry a single file first. Keep the source intact. Do not delete partially copied files from the source just because matching filenames exist on the computer.
The file copies but will not play
Try the source recording first. If the source plays, compare file sizes where available and copy again. If the complete copy still fails, check the recording format against the computer player's supported formats; retain the original before making a converted review copy.
The exported clip looks softer than expected
Check whether you selected a reduced-quality sharing option or saved a copy that passed through a messaging service. Export again using the original-quality option where supported. Review the original file on the computer before attributing the difference to the camera.
Customize your workflow
Build the archive around how you review targets. For individual practice, use session and target identifiers. For shared footage, add an agreed identifier so clips do not depend on recognizing a target from its appearance alone.
Pair each recording with the notes required to interpret it. Keep observed results separate from later conclusions, and do not infer measurements from an uncalibrated video image.
Longshotcameras serves shooters who want remote impact viewing; a useful archive extends that viewing into later review without promising measurements the recording does not establish. Your 2026 workflow should preserve both the footage and its limitations.
FAQ
Can I transfer target camera footage directly to my computer with USB?
Only use direct camera USB transfer when your camera's documentation supports computer file access. Otherwise, transfer the exported recording from the phone or other device that stores it.
Does a USB-C port mean a target camera supports file transfer?
No. A USB-C connector does not establish computer file access, recording storage, or webcam support. Check the camera's documented port functions.
Why can I see the target in the app but not find a video on my computer?
Live viewing does not prove that a saved video exists. Record and export a clip using the app's documented procedure, then confirm where the exported file is stored.
What is the best target camera USB transfer workflow for Android?
Export the recording to accessible phone storage, connect a data-capable cable, and select the phone's file-transfer mode. Copy the file with a compatible computer transfer method, then verify playback.
How do I copy target camera footage from an iPhone to a Mac?
For recordings exported to the iPhone photo library, connect and authorize the iPhone, then use Image Capture to import supported media. App-private recordings need the app's supported export method first.
When is it safe to delete target camera recordings from my phone?
Delete source recordings only after the computer copies play correctly and a separate verified backup exists. A filename appearing in the destination folder is not sufficient verification.
Should I keep screenshots as well as target camera video?
Keep screenshots when a specific frame helps your review, but preserve the video separately. A screenshot cannot replace the sequence contained in the recording.
One last thing
File timestamps are not a dependable session log. Preserve the session identity in the folder name and written notes, then keep the original export unchanged. That small habit prevents a successful transfer from becoming an archive you cannot interpret.