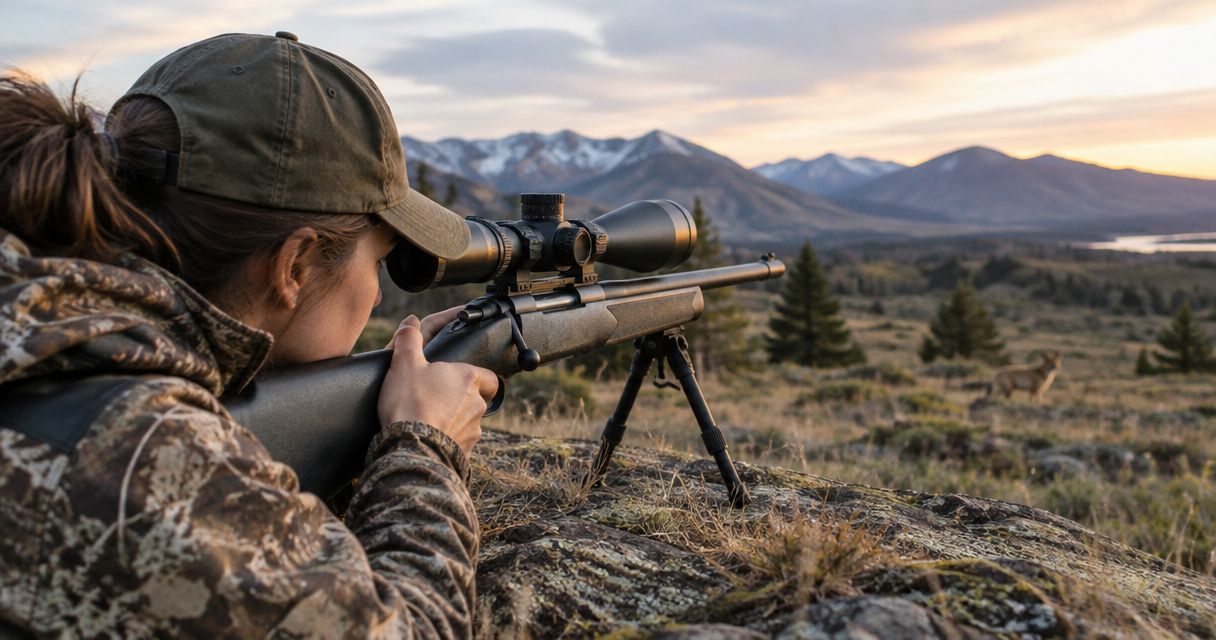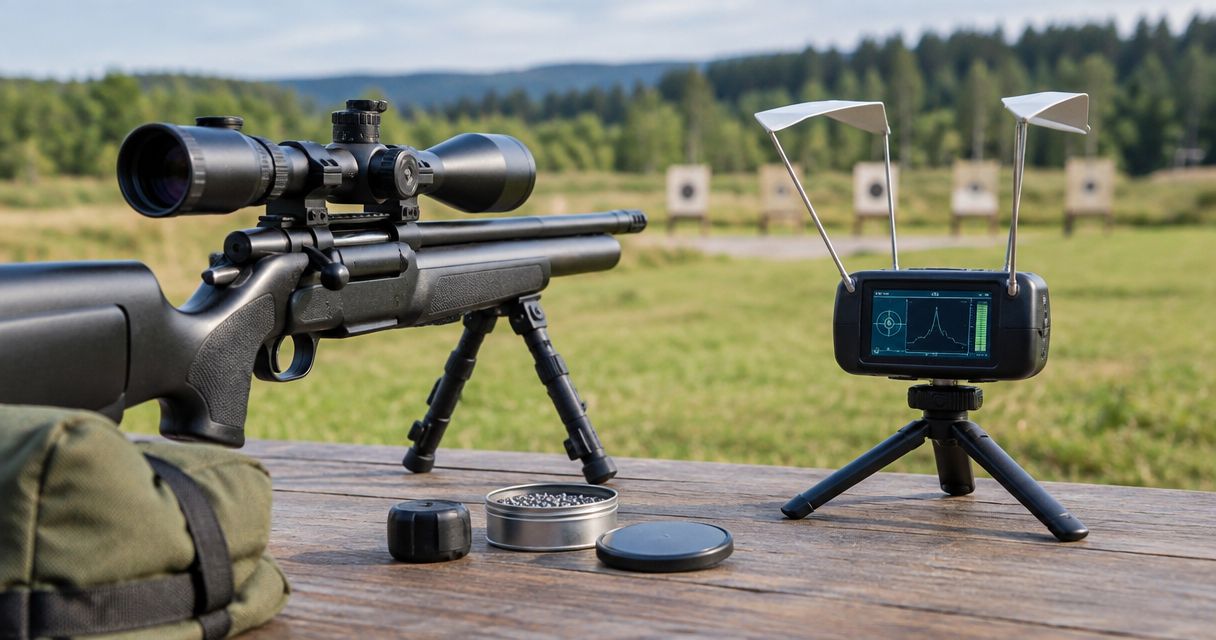
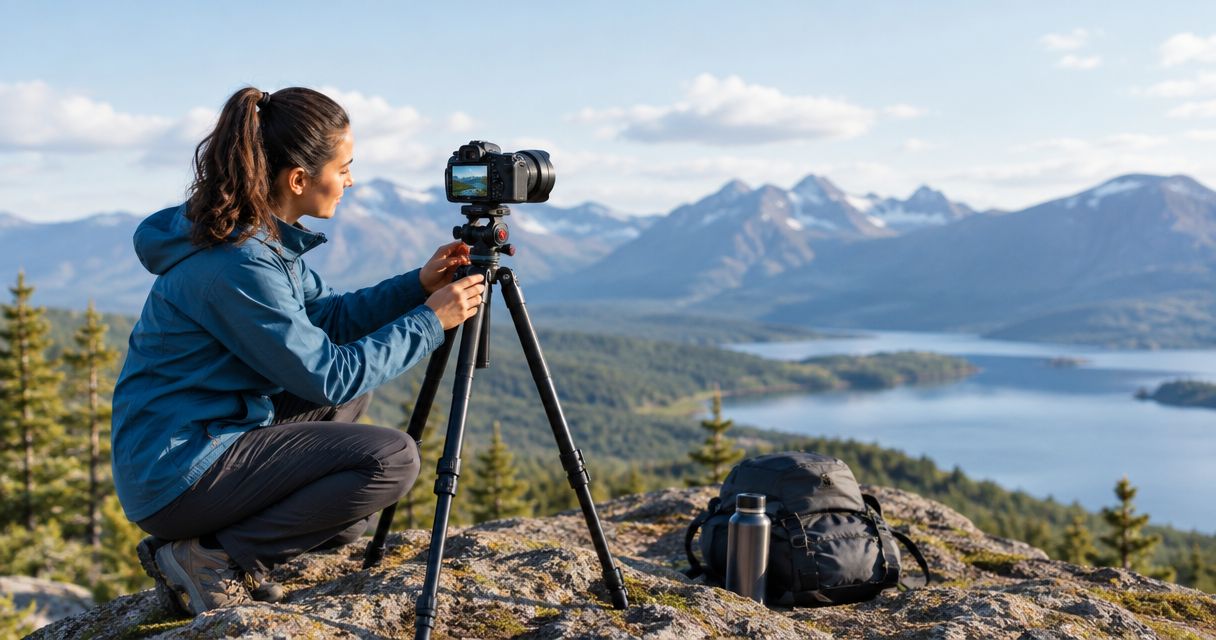
Range content creators’ tripod setup is a camera support system designed to record shooting sessions with the aim of producing clear demonstrations and usable shot-impact footage. Choose a tripod for range filming around your camera position, framing, and movement—not just its advertised load capacity—because shooter footage and downrange target views serve different jobs.
- Choose a tripod for range filming by camera position and head control, not load capacity alone.
- Longshotcameras target cameras suit range creators who need remote shot-impact views rather than shooter-facing footage.
- Use a video head for moving shots and a locked head for static demonstrations.
- Keep filming equipment outside firing lanes and follow range commands before placing anything downrange.
Why tripod choice matters for range content creators
A useful range video shows both the action and the result. Your shooter-facing camera explains the demonstration; your target view shows where shots landed. A stable support helps keep each view readable without making the camera operator part of every shot.
Longshotcameras sells target cameras and accessories for remote shot-impact viewing at distances up to 2 miles. That addresses a different need from recording a presenter, a shooting bench, or an entire firing line. Do not treat the viewing-distance claim as a tripod specification or assume it applies to every camera model.
For your 2026 filming setup, separate camera support from target observation. A tripod cannot fix an obstructed view, an unsuitable head, or a camera positioned where range staff prohibit equipment.
Your practical constraints are specific:
- Range commands determine when you can reposition equipment.
- Shared benches and walkways limit leg placement.
- Wind, uneven ground, and contact with the bench can disturb framing.
- A remote target view does not replace a shooter-facing recording camera.
Choose the support around the shot you need, then check whether the range permits that placement.
How to build your range filming setup
Define the footage before choosing the tripod
Start with a written shot list and the camera you already own. No purchase is necessary to discover whether your main shot is a standing explanation, a seated demonstration, or a close view of a target.
For a 2026 production plan, describe the subject and camera position together. “Film the demonstration” leaves too much unresolved. “Keep the presenter’s face and hands visible from beside the bench” gives you a height and framing requirement you can test.
Separate static footage from moving footage. A locked camera needs secure positioning; a moving shot also needs a head that lets you start, stop, and change direction without abrupt movement. Neither requirement tells you the complete answer on its own.
- Write down the subject for each shot.
- Mark each shot as static or moving.
- Identify whether the camera sits at the bench or on the ground.
- Check which placements require range-staff permission.
Assign a separate role to each view
Build the basic workflow manually first. Sketch the range layout, identify an approved camera position, and decide which view supplies evidence for each part of your video. A phone or existing camera can handle the initial framing rehearsal.
Use three roles: the shooter view explains the action, the target view shows the result, and the review screen lets you inspect footage or impacts. One device does not automatically cover all three. A screen displaying impacts is not evidence that your main camera recorded them.
Keep the shot plan simple enough to operate while following range procedures. More equipment adds more placements, mounting checks, and opportunities to forget a recording.
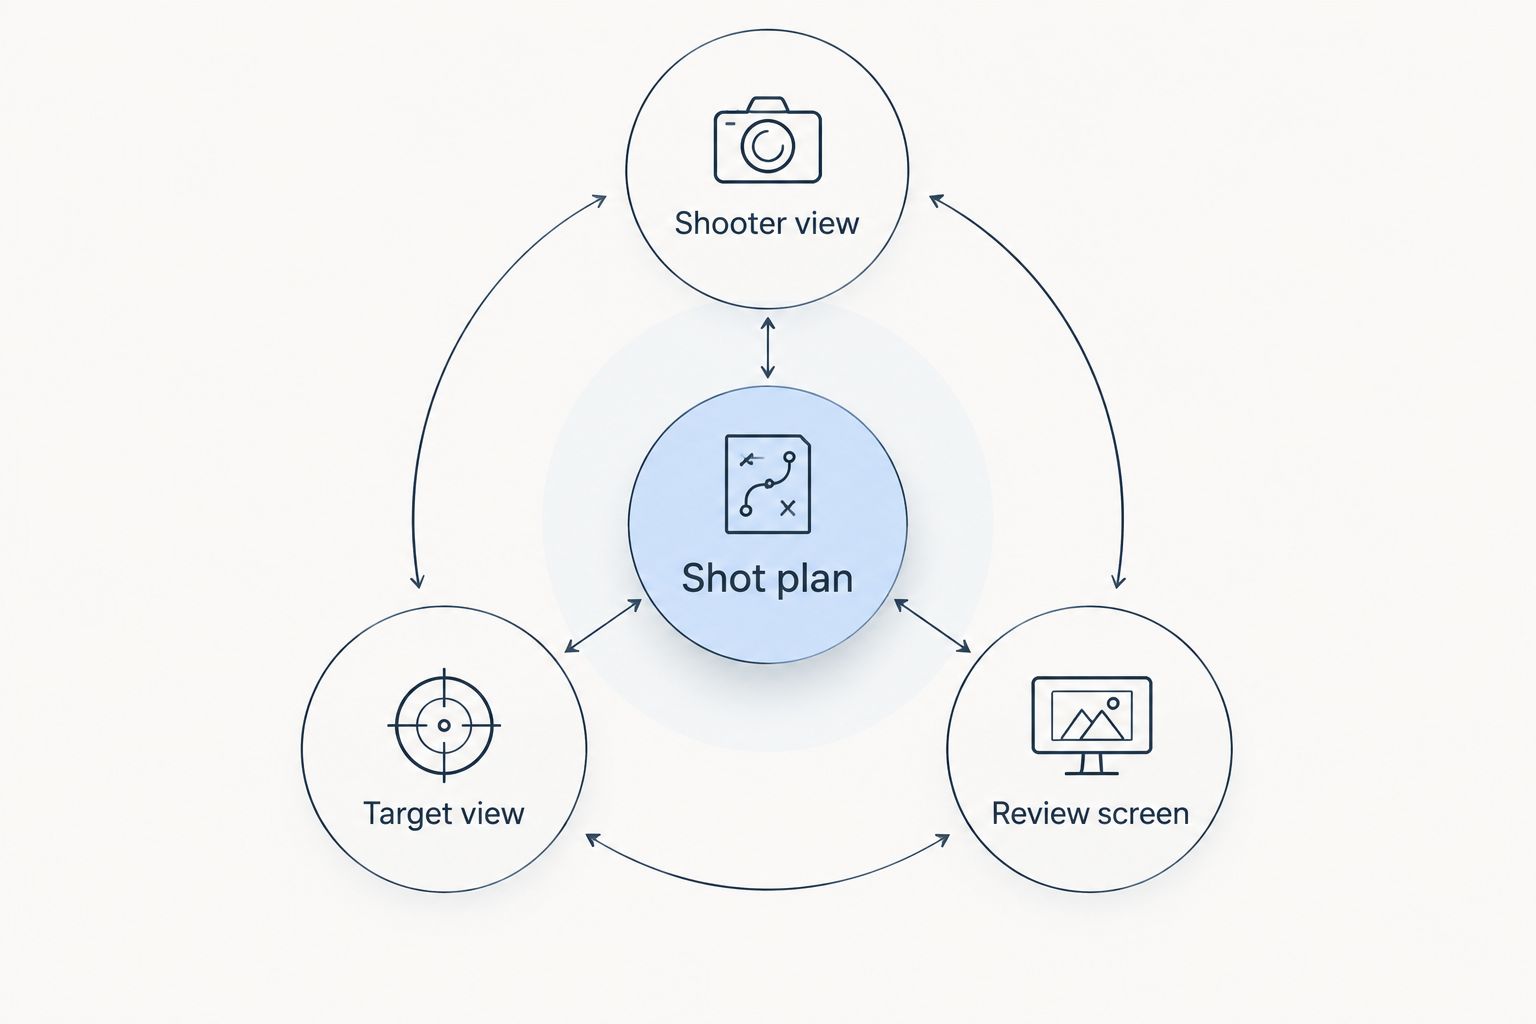
Make those roles explicit before loading the vehicle. If a view is not needed for the finished video, leave its equipment out of the setup.
- Shot plan: list the footage needed for the finished edit.
- Shooter view: frame the person and demonstration.
- Target view: show the result at the target.
- Review screen: inspect the view without treating it as the recording itself.
Match the support to the camera’s job
Test your existing support before replacing it. Mount the actual camera, frame the intended shot, and check whether the support holds that position without adjustments slipping. Include the lens, microphone, cage, and cables you intend to use.
A full-height tripod is a practical option for standing presentations. A compact support fits a different role: a bench-level or downrange camera position. For upright filming, compare the placement requirements in this guide to tall tripods for long-range camera setups.
The Compact Tripod is described for setting a Longshot camera downrange or providing a steady base at the bench. Do not assume a standing filming height, load rating, or mounting compatibility from that description. Check those requirements before choosing it for your recording camera.
Longshotcameras target cameras are best for range creators who need remote shot-impact views rather than shooter-facing footage. They address the target-view role; they do not remove the need to support your main filming camera.
- Match support height to the subject’s position.
- Check the complete mounted camera load.
- Confirm the camera’s mounting interface.
- Verify that the intended support fits the approved equipment area.
Set the legs before extending the center column
On a permitted surface, position the tripod legs first and check that every foot rests securely. Keep the camera as low as the composition allows. Extending the center column raises the camera above the leg structure, so test that position rather than assuming it remains equally steady.
For a 2026 field setup, inspect the ground and nearby traffic before mounting the camera. A leg projecting into a walkway is a placement problem, not a stability feature. On a bench, leave room for the shooter’s equipment and any required range procedures.
Do not improvise an unsecured hanging weight. Anything attached to the tripod needs to remain controlled and clear of feet, cables, and equipment.
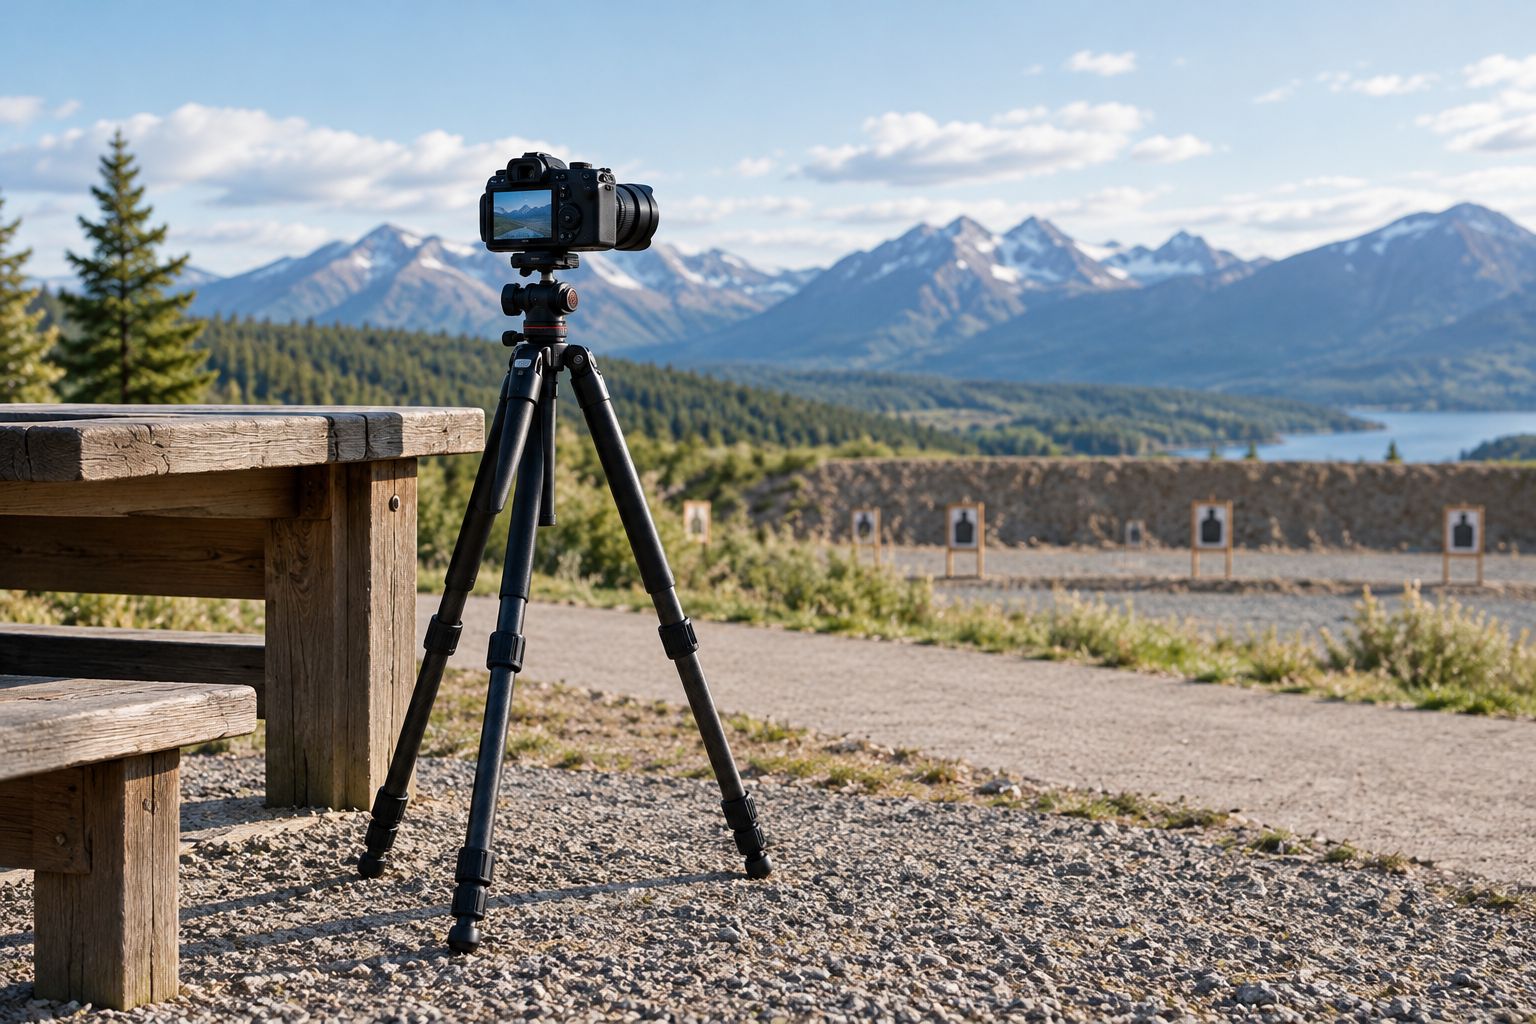
Recheck the framing after placing the camera. Leg adjustments change both the horizon and the direction of the lens; a level tripod platform does not guarantee the composition you intended.
- Seat every foot on a stable surface.
- Keep tripod legs out of walkways.
- Extend the center column only when the shot requires it.
- Check the horizon after adjusting the legs.
Choose the head for static or moving footage
Try your current head with the intended shot before buying another. Lock the camera for a demonstration, then test any planned pan or tilt. Watch for framing drift after you remove your hands.
A ball head is useful for quickly setting a fixed composition. A video head provides separate pan and tilt controls for moving footage. Neither design guarantees good results: the mounted camera, adjustment settings, and operator all affect the shot.
Record a 10-second stationary test as a practical check, not a performance benchmark. Then record the planned movement and review it on a larger screen. Inspect the beginning and end of the movement as closely as the middle.
- Lock the head for static demonstrations.
- Test pans and tilts with the complete camera setup.
- Route cables so they do not pull on the camera.
- Review the footage for drift, abrupt starts, and framing changes.
Separate the review screen from the filming camera
Place your existing phone or tablet on a stable, permitted surface first. Check whether you can read it without leaning into equipment or changing the main camera’s position. Avoid balancing it against loose gear.
The Longshot Tablet Stand (Black) – Target Camera System holds most smart devices and provides 2 viewing-angle positions. It supports the review-screen role, not the main filming camera. Check your device’s fit rather than treating “most smart devices” as universal compatibility.
The following accessories address two different support tasks. Choose the Compact Tripod for the described bench or downrange camera role; choose the tablet stand when you need a separate place for the review display.


Neither accessory should dictate the whole filming layout. Establish the camera and display positions first, then confirm that the supports fit those jobs.
- Keep the review screen separate from the recording camera.
- Check device fit before relying on the stand.
- Position the display where you can inspect it safely.
- Keep display cables clear of the shooter’s equipment.
Rehearse the recording before the session
Run a 30-second rehearsal before the shooting sequence, wherever range rules permit. This is a suggested workflow check, not a required recording duration. Confirm the composition, recording status, and any separate target-view capture.
For your 2026 filming checklist, distinguish viewing from recording. Seeing an image on a display does not establish that you saved usable footage. Verify each recording device through its own controls and instructions.
After the rehearsal, inspect the files instead of relying on the preview alone. Look for cropped hands, an obstructed target, loose framing, or a display that is unreadable in the recorded shot. Fix those issues before starting the demonstration.
- Confirm that each intended camera is recording.
- Check that the subject stays inside the frame.
- Inspect a saved test file.
- Stop and follow range commands before repositioning equipment.
Compare support options for range filming
The best support is the one that matches the view, not the one that promises to do every job. Compare these options by function. Confirm mounting compatibility, working height, and load requirements for the specific model you select.
| Option | Best for | Practical advantage | Key limitation |
|---|---|---|---|
| Full-height tripod with video head | Standing presentations and planned camera movement | Gives you height adjustment and dedicated pan-and-tilt control | Requires floor space; suitability depends on the complete setup |
| Photo tripod with ball head | Locked-off shooter footage and quick reframing | Lets you set and secure a fixed composition | Does not provide the same separate movement controls as a video head |
| Compact Tripod | Bench or downrange Longshot camera placement | Its stated use covers those camera-support roles | Standing height, load rating, and mount details are not established here |
| Longshot Tablet Stand (Black) – Target Camera System | A separate phone or tablet review display | Holds most smart devices with two viewing-angle positions | It is a display stand, not a filming-camera tripod; device fit still matters |
A dedicated target-view system is another part of the workflow, not another tripod category. Keep its viewing and recording requirements separate from this support comparison.
Common mistakes range content creators make
Buying for capacity instead of composition
An advertised load capacity does not answer whether the lens reaches the correct height or whether the head suits your movement. For a 2026 equipment shortlist, reject supports that cannot produce the required framing before comparing secondary features.
Mounting the filming camera on a busy bench
A bench-level angle can be useful, but the support also shares space with equipment and activity. Test the actual position during your rehearsal. If contact disturbs the frame, change the placement within the range’s permitted area.
Treating a target camera as the entire production setup
A target view shows results; it does not automatically show the presenter’s explanation or actions. Keep the main filming camera in your shot plan, and verify how any target footage will be captured before relying on it in the edit.
Adjusting equipment without checking range status
A better camera angle never overrides range commands. Get permission for placements, keep equipment clear of prohibited areas, and move downrange only when range procedures allow it. Plan adjustments before the session rather than improvising them during firing.
FAQ
What's the best tripod for range filming?
The best tripod for range filming matches your camera position and whether the shot is static or moving. Use a full-height support for standing presentations and evaluate compact supports for bench or downrange positions.
Is a video head better than a ball head for range videos?
A video head is better suited to planned pans and tilts, while a ball head suits quickly setting a fixed composition. Test the complete camera setup before choosing either.
Can I use a compact tripod for a standing presentation?
Use a compact tripod only if its supported position produces the standing shot you need. Check working height, mounting compatibility, and the complete camera load rather than assuming it fits.
Do Longshotcameras target cameras replace my filming camera?
Longshotcameras target cameras provide remote shot-impact views, not a replacement for shooter-facing footage. Keep a separate recording plan for explanations, demonstrations, and target results.
Can I place a filming tripod downrange?
Place a tripod downrange only with range permission and under the range's procedures. Confirm the permitted position before setup and follow commands before moving or retrieving equipment.
How do I check whether my tripod footage is stable?
Record a stationary test with the complete camera setup and inspect the saved file. Then test any planned movement and look for framing drift, abrupt starts, or cable interference.
Can a tablet stand hold my filming camera?
Do not treat a tablet stand as a filming-camera support. The Longshot Tablet Stand (Black) – Target Camera System is described for holding most smart devices and offers two viewing-angle positions.
One last thing
Rehearse the finished shot, not just the tripod setup. A camera can remain perfectly still while recording the wrong view. For your next 2026 range session, review one saved rehearsal clip from every planned camera position before beginning the demonstration.