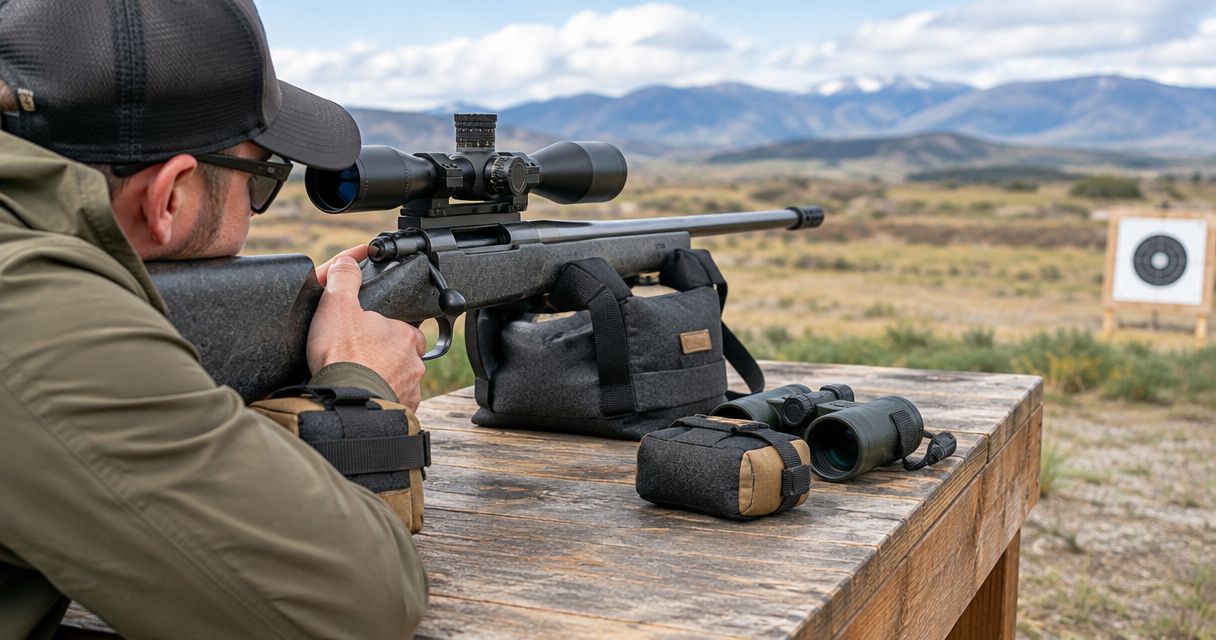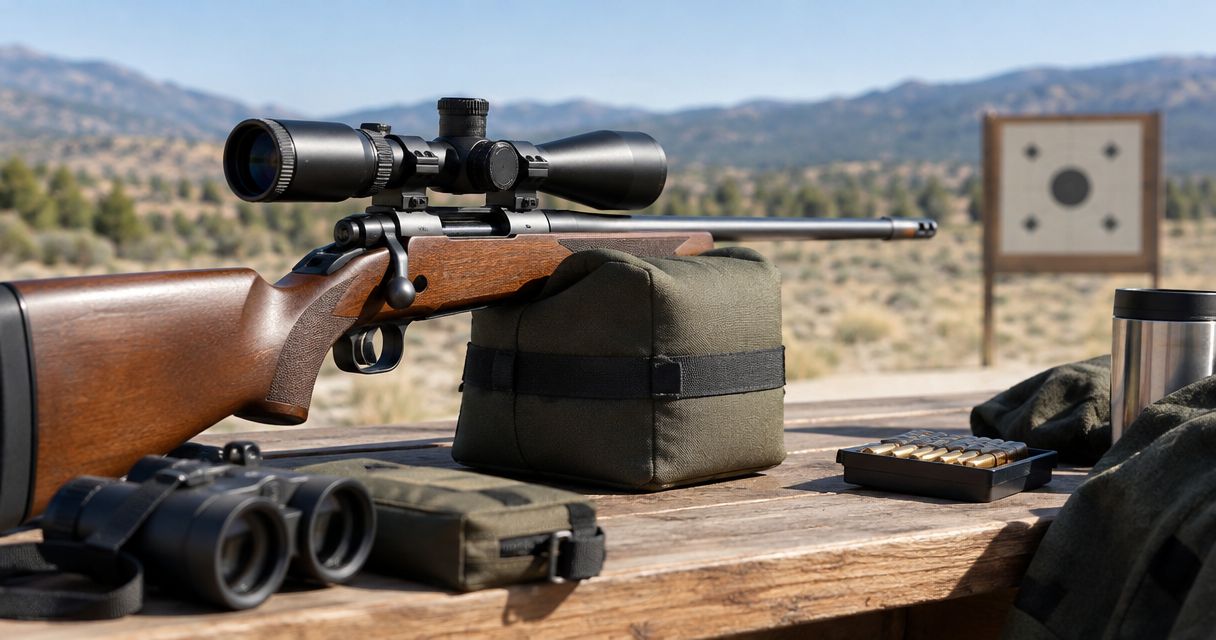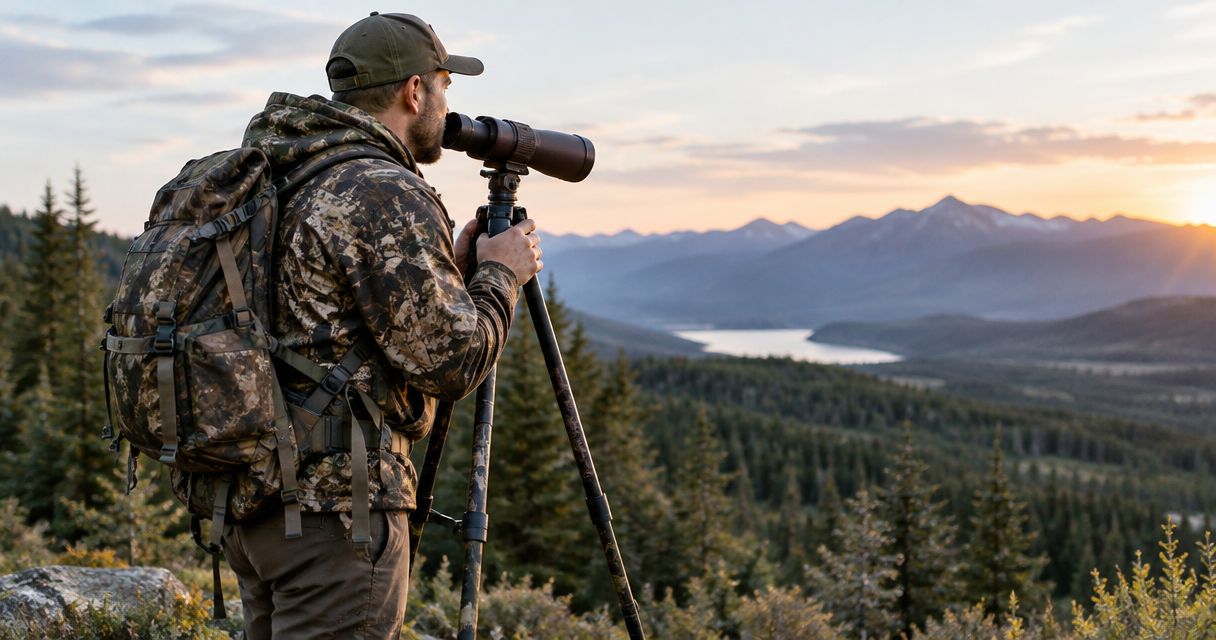
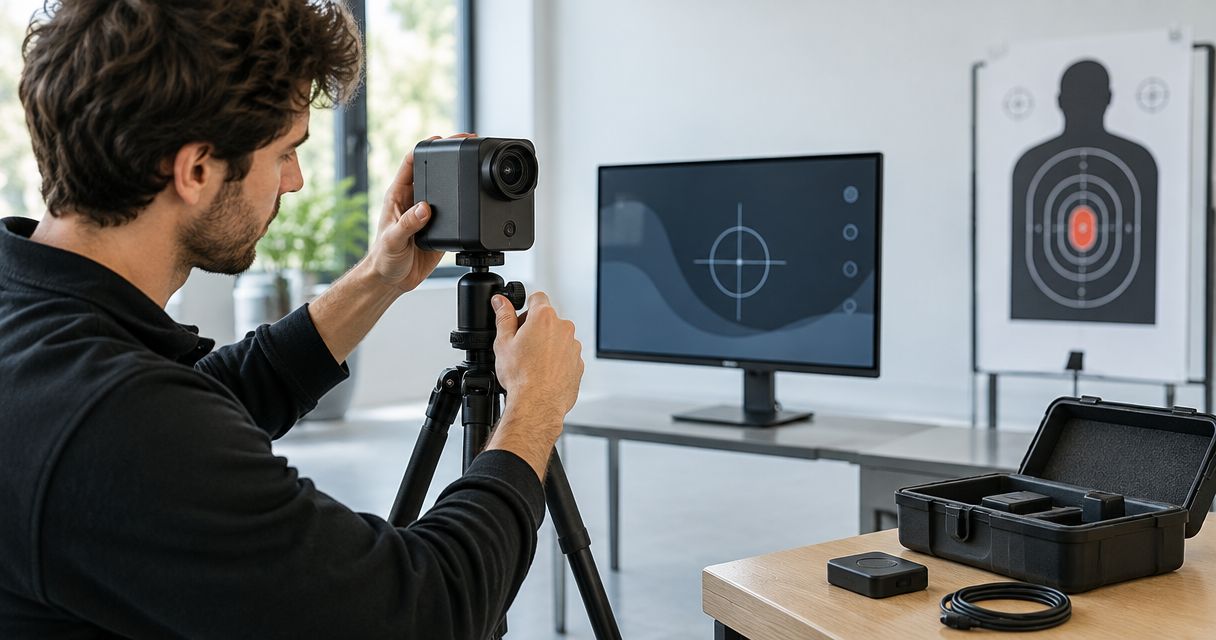
There is no single setup time that applies to every target camera system: your session includes equipment preparation, camera placement, connection, and a final image check from your shooting position. For your 2026 range plan, count downrange travel and authorized range-access time separately from connecting the camera; setup is complete only when you can clearly view the intended target from the firing line.
- How long does it take to set up a target camera system? Count preparation, placement, connection, and verification separately.
- Longshotcameras target cameras suit shooters who want remote impact viewing; choose a system matched to your target distance.
- A successful connection is not the finish: confirm target framing and image stability from your shooting position.
- Prepare your viewing device before the trip, and follow range commands whenever placing or retrieving equipment.
How long does it take to set up a target camera system?
Plan around the setup tasks, not an unsupported minutes-per-camera estimate. Connecting a camera beside your equipment is a different job from placing it downrange, returning to the firing line, and verifying the view there. Neither task includes waiting for permission to enter the range.
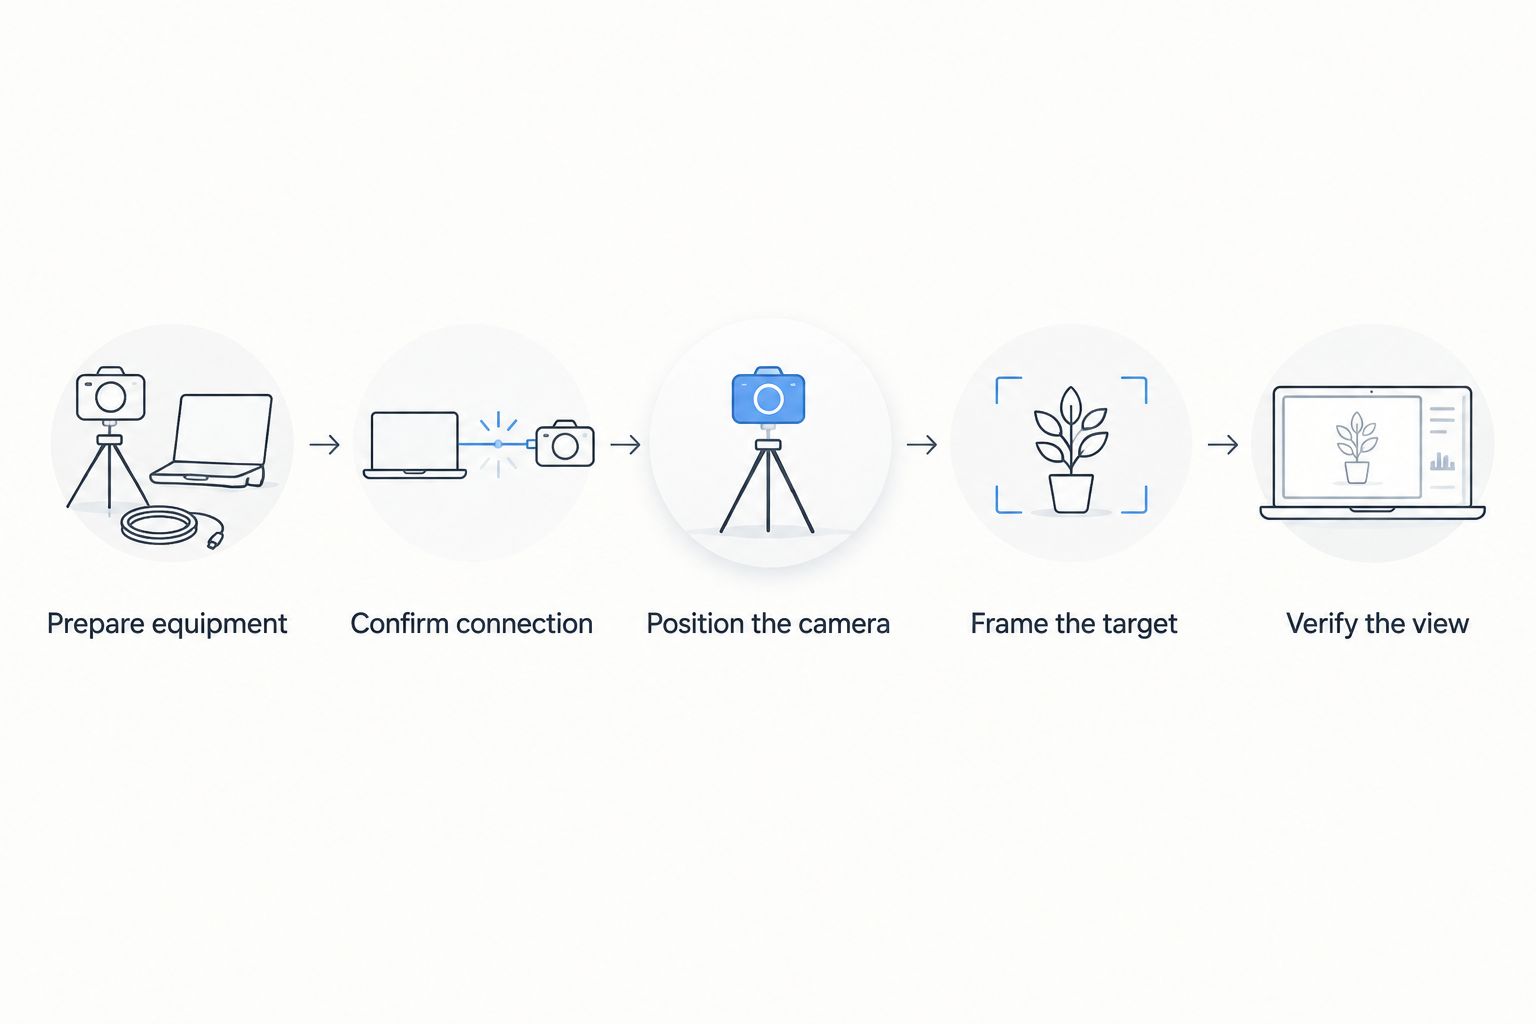
Use this sequence to define the work. For device-specific connection instructions, follow the guide to connecting a Longshot camera to the Longshot app.
- Prepare equipment. Check the camera, viewing device, charging equipment, mount, and model-specific instructions before leaving.
- Confirm connection. Establish a working image according to your system's instructions while the equipment is accessible.
- Position the camera. During authorized downrange access, place and secure the camera according to the manufacturer's guidance and range rules.
- Frame the target. Check that the intended target area is visible before returning to the shooting position.
- Verify the view. From the firing line, confirm the correct target, usable framing, and a stable image.
These steps give you a repeatable endpoint. A powered-on camera is not ready if you cannot identify the intended target on your viewing device.
Why this matters
An incomplete setup sends you back to a problem you could have found before shooting. A working connection does not prove that the camera is pointed at the right target, and a good view beside the camera does not replace a check from your shooting position.
For a 2026 range session, define readiness before you pack: the correct target is visible, the equipment is secured, and the viewing device is usable where you will sit or stand. That is a more useful planning standard than treating every installation as the same timed task.
Keep range safety separate from convenience. A target camera does not authorize downrange access or replace range commands, a suitable backstop, or normal firearm-handling rules.
Downrange cameras versus spotting scope cameras
The camera's location changes the setup work. A downrange system requires authorized access to place and retrieve equipment; a spotting scope camera attaches to an optic at the viewing position.
The following comparison uses the supplied product specifications, not timed installation results. Longshotcameras offers both approaches, so choose based on where you need the camera and what equipment you already use.
| Camera approach | Best for | Setup advantage | Setup limitation |
|---|---|---|---|
| Ranger - 100 Yard | Shooters using targets within its stated 100-yard range | A compact downrange camera designed for target practice | You still need authorized access for placement and retrieval |
| Ranger+ - 1000 Yard | Shooters needing remote viewing up to its stated 1,000-yard range | Extends the Ranger approach to a longer stated distance | The longer distance does not remove the final connection and framing checks |
| Hawk - Spotting Scope Camera | Shooters who want a camera view through a compatible spotting scope | Attaches at the scope rather than requiring a camera beside the target | Requires a spotting scope eyepiece between 36mm and 58mm |
Choose the camera approach first, then plan its setup sequence. Do not assume a scope-mounted camera and a downrange camera require the same preparation or provide the same viewpoint.
Downrange cameras: prepare before placement
For a downrange camera, complete the accessible checks before taking it to the target. Confirm that you have the required viewing device and mounting equipment, and practice the connection procedure using the model's instructions.
The benefit is straightforward: you can resolve equipment questions while everything is beside you. The limitation remains physical placement; bench preparation does not eliminate downrange access or the final check at shooting distance.
Spotting scope cameras: check fit before the trip
The Hawk - Spotting Scope Camera specifies an eyepiece fit between 36mm and 58mm and app-based software compatible with iOS and Android. Check both the eyepiece fit and your viewing-device requirements before planning to use it.
This approach is best for shooters who already want to view through a compatible spotting scope. Its setup still includes mounting, aiming the scope, and confirming the displayed image; attaching a camera does not aim the optic for you.
Match the camera to your distance before timing setup
A range specification describes the system's stated distance, not its installation speed. For your 2026 equipment choice, separate those questions: first determine whether the camera fits the distance, then work through the placement and connection tasks.
Ranger: 100-yard target practice
Ranger - 100 Yard is a compact camera designed for shooters practicing at its stated 100-yard distance. It is best for a setup whose distance requirements stay within that specification.
Its relevant advantage is a compact target-camera format. Its limitation is the stated distance: do not select it for a longer planned setup just because the physical placement process looks similar.
Ranger+: viewing up to 1,000 yards
Ranger+ - 1000 Yard is the upgraded Ranger version described for viewing shots up to 1,000 yards away. It is best for shooters who need that longer stated distance rather than the Ranger's 100-yard specification.
The extra range is a capability difference, not evidence of a faster setup. You still need to position the camera, establish the connection, and verify the view from your actual shooting position.
If these distances match your needs, compare the systems below. Confirm the current equipment requirements before choosing; neither distance specification replaces a complete setup check.


Why target camera setup time varies
Use these factors to identify the work your particular setup requires. Longshotcameras target cameras cover different distances and configurations; a single timed estimate would blur those differences.
- Target distance. The supplied systems include 100-yard, 300-yard, 1,000-yard, and 2-mile specifications. Distance and authorized access determine the placement trip you need to plan.
- Viewing-device preparation. The Longshot Tablet is an 11-inch Android tablet supplied with the app and video tutorials. For any viewing device, confirm the required software before leaving.
- Mounting and framing. The supplied tripod options support camera positioning. Choose a suitable mount and verify its compatibility instead of discovering a missing attachment at the range.
- Camera count. The catalog includes LR-3 kits with multiple cameras. Add a placement and image-identification check for each camera rather than treating the kit as one undifferentiated view.
- Camera approach. A downrange camera requires placement near the target; a spotting scope camera requires compatible eyepiece fit and scope alignment at the viewing position.
Do not turn these factors into assumed minutes. Use them to build your own checklist and identify which tasks can be completed before range access begins.
What should you do before arriving at the range?
Complete unfamiliar device work at home, not during your downrange access window. For your 2026 checklist, separate preparation from placement so you know exactly what remains when you arrive.
Check the manufacturer's instructions for charging and connection. Confirm that your viewing device has the required app, that you can open the camera view, and that you know how to return to it after closing the app.
Pack the camera with the mount, charging equipment, and accessories required for that model. Avoid assuming that an accessory fits merely because it is sold alongside another camera; compatibility is a model-specific check.
Finally, confirm the range's equipment-placement rules. Decide how you will transport, place, and retrieve the camera without interrupting or bypassing the range's operating procedures.
What should you check before leaving the camera downrange?
Check the camera's support, aim, and target framing before returning to the firing line. Follow the manufacturer's placement instructions and the range officer's directions; do not improvise a position that conflicts with either.
Frame the target area you intend to inspect. A close view is not useful if the relevant part of the target sits outside the image, and a wide view is not useful if you cannot distinguish the details you need.
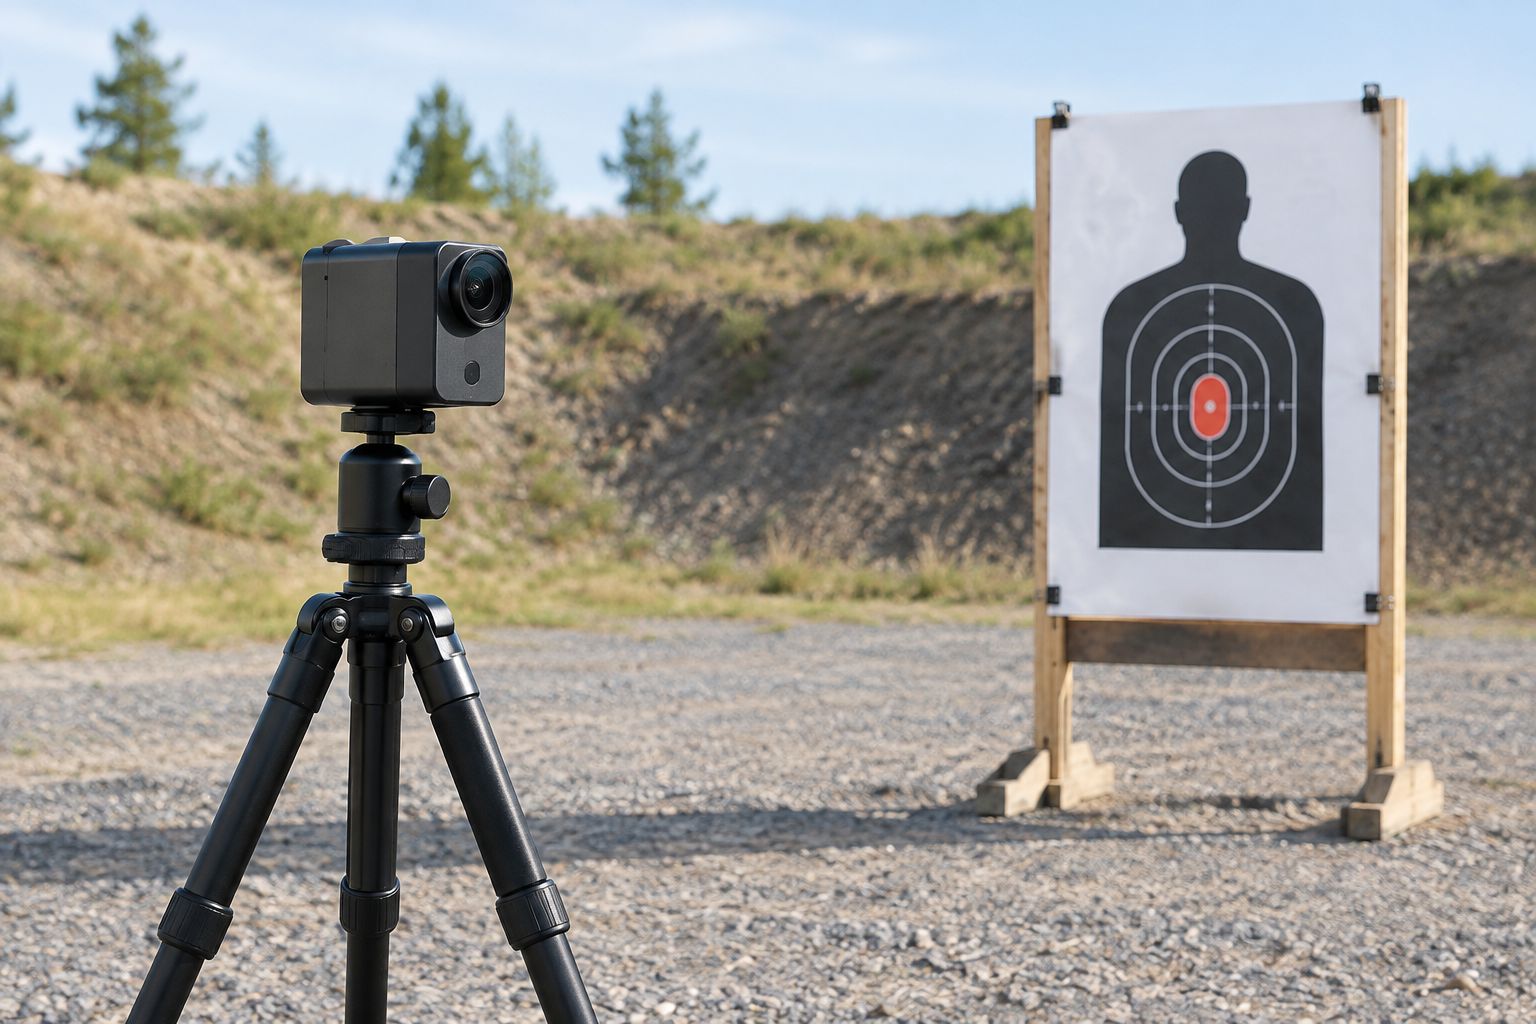
Before leaving, look for anything that would require another physical adjustment. Then repeat the viewing check from your shooting position; the downrange check and firing-line check serve different purposes.
How do you know the setup is finished?
Setup is finished when you can use the intended camera view from the intended shooting position. Do not substitute a power light or a connection indicator for the actual image.
Use this acceptance checklist:
- Correct target: You can identify the target you intend to observe.
- Useful framing: The relevant target area is visible.
- Stable support: The camera and mount are secured according to their instructions.
- Working view: The image remains usable from your shooting position.
- Accessible display: You can inspect the viewing device without disrupting safe firearm handling.
For multiple cameras, repeat the target-identification check for each view. A working image of the wrong target is still an unfinished setup.
FAQ
How long does it take to set up a target camera system?
Setup time depends on preparation, camera placement, connection, and final verification. Count downrange travel and authorized access separately from the equipment connection process.
Can I prepare a target camera before I get to the range?
Yes, prepare the equipment and practice the model-specific connection procedure before your trip. You still need to verify placement, framing, and the image from your actual shooting position.
Does a 1,000-yard target camera take longer to connect than a 100-yard camera?
The distance rating does not establish connection time. Ranger+ has a stated 1,000-yard range and Ranger has a stated 100-yard range, but those specifications are not timed setup results.
Do I need to walk downrange to set up a target camera?
A downrange camera requires authorized access for placement and retrieval. A spotting scope camera attaches at the viewing position instead, but it requires a compatible scope and correct alignment.
Can I use any spotting scope with the Hawk camera?
The Hawk - Spotting Scope Camera specifies an eyepiece fit between 36mm and 58mm. Check your scope's eyepiece measurement rather than assuming universal fit.
When should I check the camera image?
Check framing during authorized placement and verify the working view again from your shooting position. A successful nearby connection does not replace the final viewing check.
Does a target camera let me go downrange while people are shooting?
No, a target camera does not change range-access rules. Follow range commands and enter downrange areas only when authorized.
One last thing
A connection check and a setup check are different tests. The first proves you can reach the camera; the second proves the view is useful where you will shoot.
For your next 2026 session, make the final target-identification check your stopping point. Longshotcameras systems are intended to let you view impacts remotely, so judge readiness at the viewing position—not beside the equipment case.