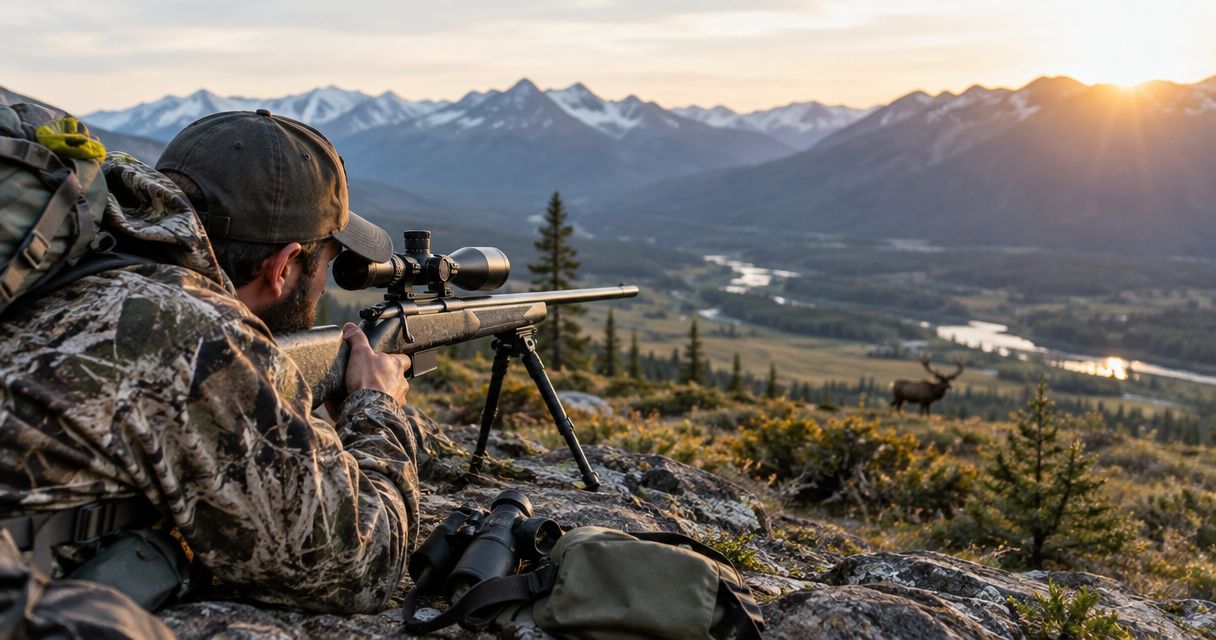
Backcountry elk hunters' long range shooting gear is a field-ready rifle, optic, support, and observation kit with the aim of making controlled shots within demonstrated limits. Choosing long range shooting gear for elk hunting means separating equipment that helps you hunt from equipment that helps you practice; steep terrain, changing weather, and the pack-out make that distinction essential.
- Choose long range shooting gear for elk hunting around field accuracy and pack weight, not maximum advertised distance.
- Longshotcameras target cameras suit elk hunters who want remote impact viewing during pre-hunt range practice.
- Keep chronographs and target cameras in your practice kit unless your trip includes a dedicated range session.
- Validate your rifle, rangefinder, shooting support, and ballistic notes together before the 2026 season.
Why long range shooting gear matters for backcountry elk hunters
A backcountry kit must work away from a shooting bench. You carry it uphill, use it from imperfect positions, and still need capacity for navigation, shelter, water, and meat recovery. A heavier accessory needs a clear field purpose before it earns space in your pack.
The useful distinction is field equipment versus validation equipment. A rangefinder helps establish distance during a hunt; a chronograph helps establish projectile velocity during preparation. Both support informed decisions, but they do not need to travel together.
For your 2026 preparation, start with repeatable shooting rather than a longer shopping list. The guide to sighting in a rifle without walking downrange covers a practice task that belongs before the hunt, not during it.
Build your backcountry shooting kit
Define your field limits
Choose your equipment around shots you can repeat from hunting positions. A successful bench session does not establish your ability to shoot from a steep hillside with a loaded pack. Your practical limit also depends on wind, animal movement, visibility, and the ability to recover the animal.
Start manually: write down the conditions under which you will pass on a shot. Keep that decision separate from the maximum range displayed by an optic, calculator, or camera. Equipment can supply information; it cannot make a difficult shot responsible.
Build your 2026 plan around the actual route and hunting method. A kit for covering exposed ridges has different carrying demands from one used near a fixed observation point. Neither needs every accessory you own.
- Record your demonstrated shooting limits from field positions.
- Identify conditions that require passing on a shot.
- Check current hunting regulations for your destination.
- Plan animal recovery before selecting a shooting location.
- Separate your field list from your range-practice list.
Test your rifle and optic together
Use the rifle, optic, and ammunition you already own before replacing components. The first job is proving that the assembled system holds a repeatable zero and lets you operate the controls without confusion. A feature you cannot use reliably under pressure adds complexity rather than capability.
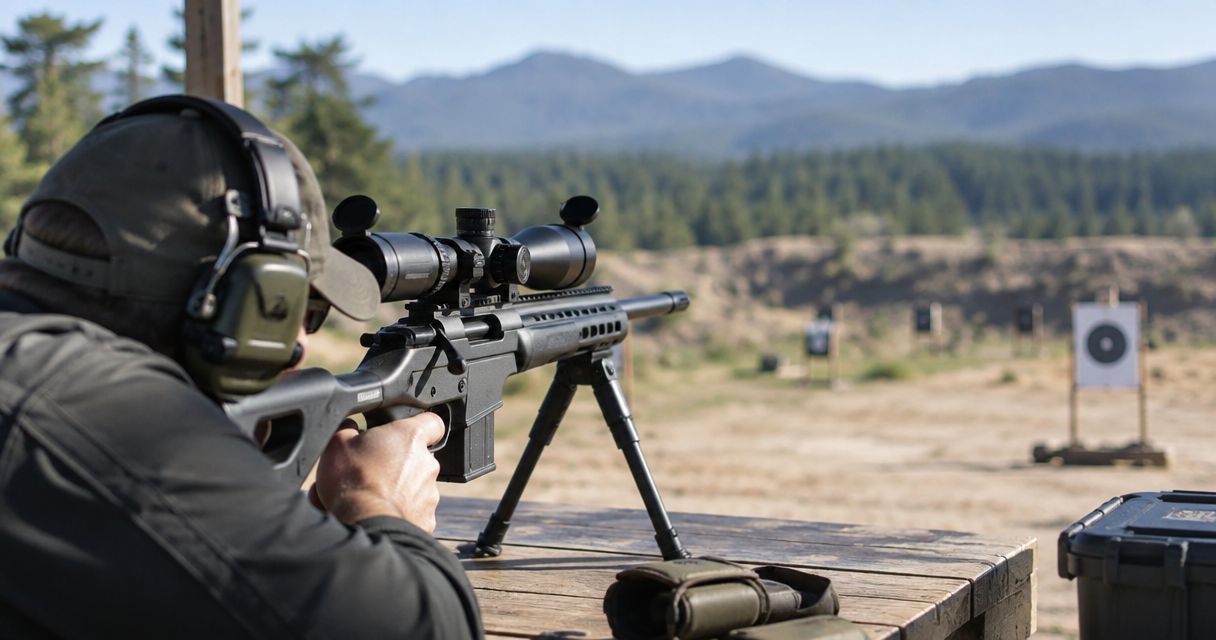
At an approved range, establish a baseline at a distance such as 100 yards, then verify performance at other distances appropriate to the facility and your skill. Treat that distance as a suggested starting point, not a universal zero recommendation. Follow the rifle and optic manufacturers' instructions for mounting, adjustment, and maintenance.
Pay attention to the first shot from a cold barrel as well as later groups. Hunting preparation should tell you where your initial shot lands, not merely where a warmed-up rifle groups.
- Confirm mounting hardware according to manufacturer instructions.
- Record your zero distance and ammunition identification.
- Observe cold-barrel impacts across separate practice sessions.
- Check that you understand the reticle and adjustment units.
- Recheck zero after changing components or ammunition.
Verify your feedback at the range
Start with paper targets, a notebook, and target inspection during authorized ceasefires. This manual approach gives you a permanent record without requiring electronics. A spotting optic adds observation from the firing line, but confirm that you can actually distinguish impacts under your range conditions.
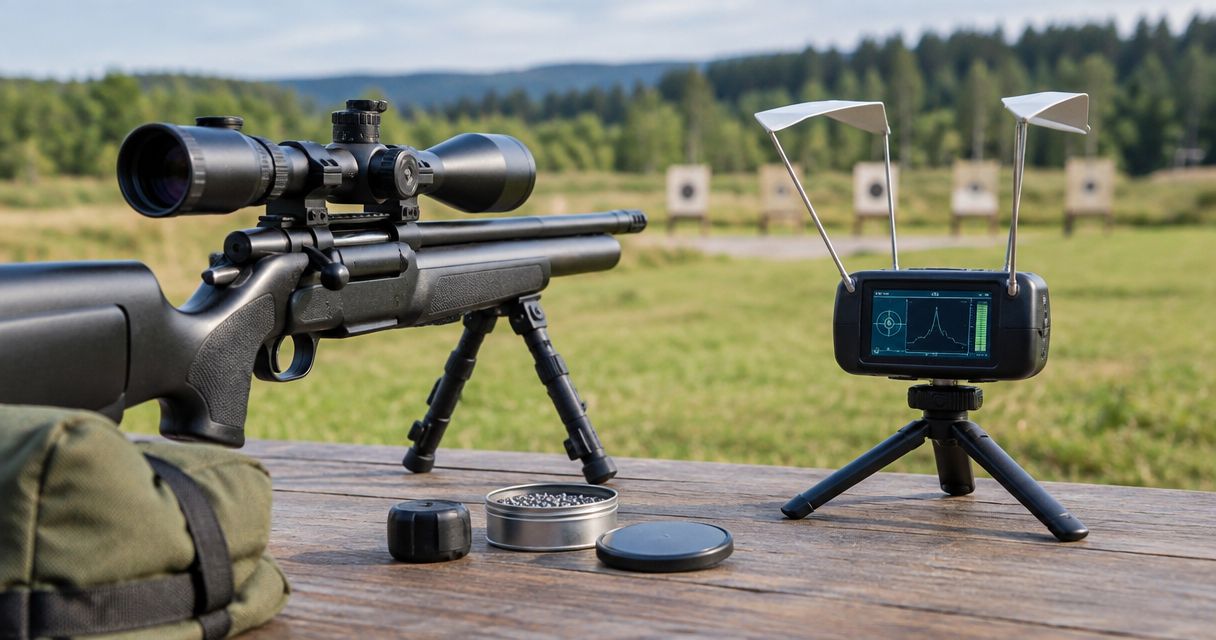
Longshotcameras target cameras are best for elk hunters who want remote impact viewing during pre-hunt range practice. The brand sells rugged cameras and accessories for viewing shot impacts remotely at distances up to 2 miles. That distance describes remote viewing capability, not an appropriate distance for shooting at elk.
Longshotcameras target cameras provide a faster feedback path than repeated target walks when range rules permit their use. The trade-off is another setup to position, power, transport, and check. Keep the camera in your preparation kit rather than treating it as necessary backcountry hunting equipment.
- Use authorized ceasefires for camera placement and retrieval.
- Keep equipment out of the projectile path.
- Confirm that impacts are visible before starting practice.
- Label targets and notes so sessions remain comparable.
- Record results rather than relying on memory.
Confirm your distance and ballistic notes
A ballistic solution is a prediction until you verify it on targets. Start with a written record of observed impacts at known distances. If you use a calculator, check its inputs against your actual rifle, ammunition, and environmental conditions rather than accepting a saved profile without review.
A chronograph supplies velocity information; it does not replace downrange verification. The Garmin Xero C2 Chronograph is described as providing projectile velocity data in a compact format. Its role here is preparation, and velocity measurements alone do not establish a hunting limit.
Keep the field version of your notes readable and available without depending entirely on a phone. For 2026, confirm that your saved information matches the ammunition you will actually carry. Do not mix records from different loads and expect them to describe one system.
- Measure distance to the intended target, not nearby terrain.
- Match ballistic notes to the ammunition being used.
- Verify predicted impacts on an approved range.
- Carry a readable backup of essential field notes.
- Practice recognizing uncertain or inconsistent distance readings.
Rehearse your shooting support
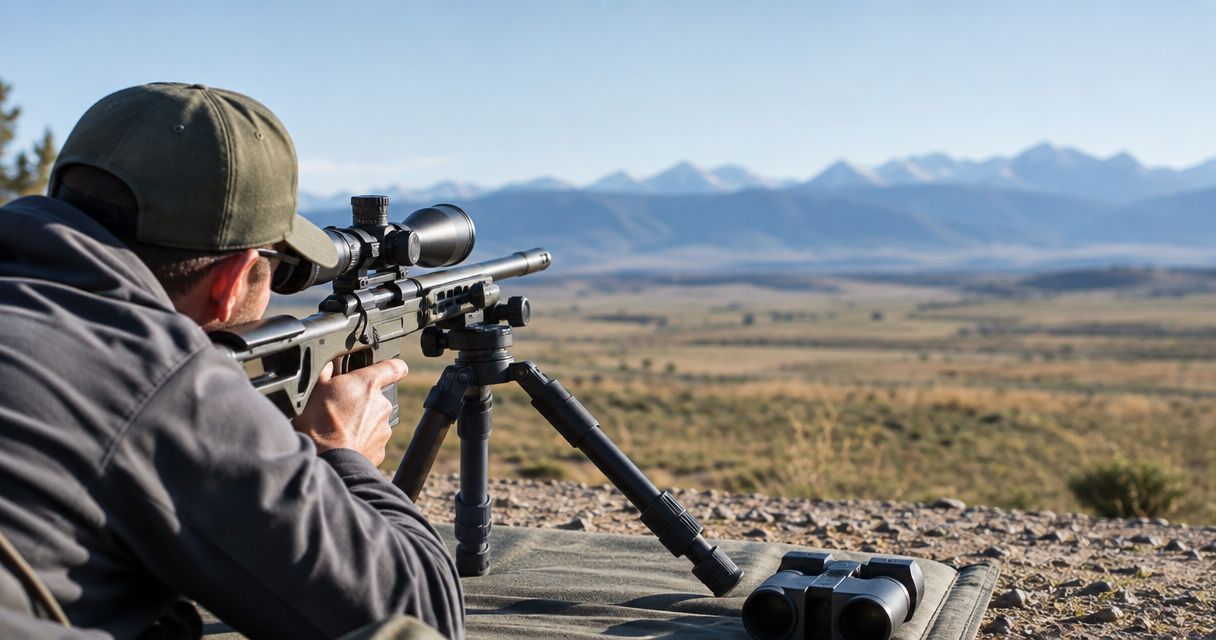
Try your pack as a support before adding a dedicated platform. Then compare it with a bipod or shooting tripod in the positions your terrain requires. The best support is the one that produces repeatable control in your actual position, not the one that feels most stable on a flat bench.
The Compact Tripod is described as a base for a downrange camera or a bench setup. That description does not establish it as a rifle-support tripod. Keep accessory mounting and firearm support separate unless the relevant manufacturer explicitly confirms the intended use.
Rehearse prone, seated, and other appropriate supported positions at a safe range. Uneven ground exposes setup problems that a bench hides. Check whether your chosen support interferes with carrying, observation, or moving through brush.
- Test your pack as a rest before adding equipment.
- Confirm support compatibility using manufacturer information.
- Practice on uneven ground where range rules allow.
- Check access to rifle controls in each position.
- Reject positions you cannot hold steadily and comfortably.
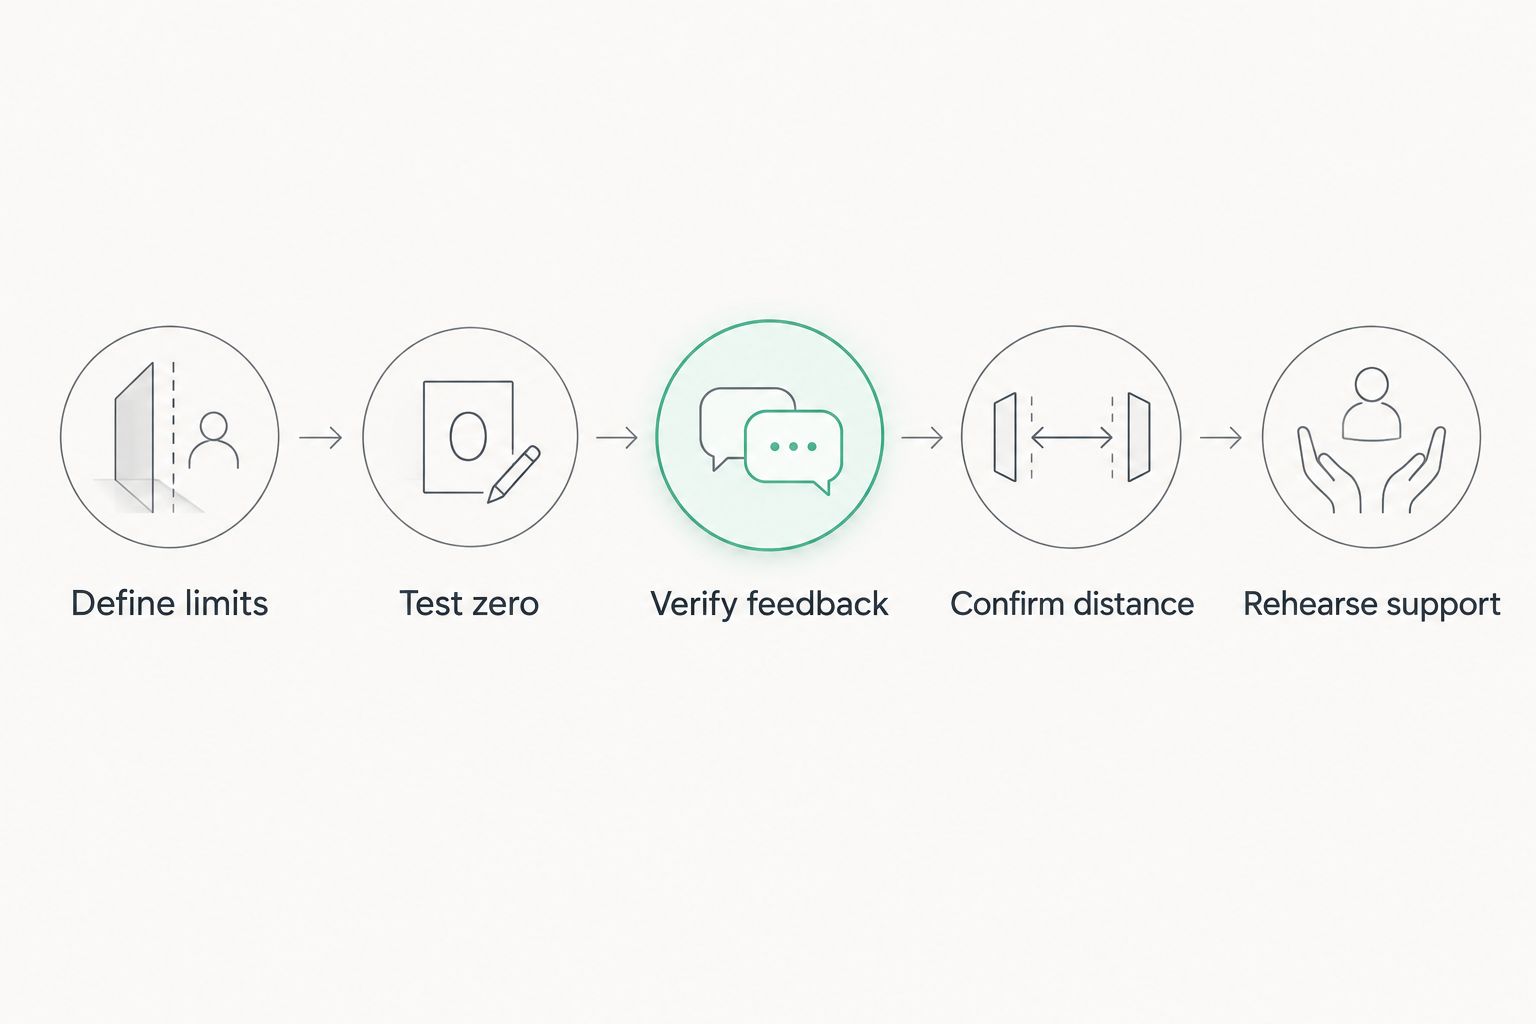
Your practice sequence should move from deciding limits to verifying the system and then testing its field use. Each stage answers a different question; buying another accessory does not replace any stage.
The Garmin Xero C2 Chronograph and Compact Tripod serve separate preparation jobs: velocity measurement and camera or bench support. Best for velocity checks: the chronograph. Best for camera placement: the tripod. Neither item replaces a field rangefinder or a tested rifle-support system.


Audit your carrying and weather protection
Lay out the complete kit and weigh it rather than judging components individually. Include batteries, cables, mounts, cases, and any display device. An accessory's carrying burden is the whole working setup, not just its central component.
Use the protection you already have as a starting point. Check whether covers and cases allow safe, practical access and whether your electronics remain usable under the conditions you expect. Follow manufacturer guidance instead of assuming every outdoor accessory is waterproof.
Make separate lists for hunting and range preparation. A camera case protects practice equipment in transit, but that does not make the camera necessary on an elk hunt. Your 2026 pack list should reflect what you will use between leaving camp and returning with the animal.
- Weigh the fully assembled field kit.
- Include every required mount, battery, and cable.
- Check weather ratings in manufacturer documentation.
- Practice access while wearing your normal field clothing.
- Leave preparation-only equipment out of the hunting pack.
Run a complete practice session
Before departure, rehearse the whole process rather than testing accessories separately. Observe the target, measure distance, choose a safe supported position, confirm your information, and decide whether the shot meets your limits. Include deliberate decisions not to shoot.
At a suitable range, a suggested routine is 3 shots per group across separate sessions, with careful notes about position and conditions. This is a manageable recording format, not proof of hunting readiness. Look for repeatability across sessions instead of treating one good group as a final answer.
Finish by packing the equipment exactly as you intend to carry it. A missing adapter or inaccessible note is easier to fix at home than on a ridge. Preserve the results as your 2026 baseline and recheck after meaningful equipment changes.
- Rehearse observation, ranging, support, and decision-making together.
- Record position and conditions alongside each target.
- Include practice decisions to pass on unsuitable shots.
- Test access to notes and controls with your packed kit.
- Recheck the system after changes or suspected damage.
Compare the options by job
Choose a method for each job rather than expecting one device to do everything. Manual records remain useful alongside electronics because they preserve what happened during practice. Electronic tools add information or convenience, but each brings setup and carrying requirements.
| Option | Best for | Main benefit | Key limitation |
|---|---|---|---|
| Paper targets and notebook | Basic range validation | Preserve impacts and session notes | Target inspection requires authorized range access |
| Spotting scope | Observing targets and terrain | Provides magnified observation | Confirm that impacts are distinguishable in actual conditions |
| Longshotcameras target cameras | Remote impact viewing during practice | Let shooters inspect impacts without repeated downrange walks | Require placement, power, transport, and range permission |
| Chronograph | Checking projectile velocity | Supplies velocity data for preparation | Does not verify downrange impacts or establish hunting limits |
| Field rangefinder | Measuring target distance | Supplies distance information during the hunt | Distance alone does not resolve wind, movement, or recovery concerns |
| Pack rest, bipod, or shooting tripod | Supporting field positions | Provides a support suited to the shooting position | Suitability depends on terrain, compatibility, and demonstrated control |
Common mistakes backcountry elk hunters make
- Packing the range kit for the hunt. A chronograph or target camera can improve preparation without earning space in your field pack. Keep each item tied to a specific job.
- Treating electronic range as shooting permission. A device's displayed distance says nothing about your demonstrated accuracy, animal movement, or recovery plan. Set limits independently.
- Practicing only from a bench. A stable bench can conceal problems with hillside support and field access. Rehearse the positions you expect to use.
- Changing ammunition without rechecking the system. Notes belong to the setup that produced them. Verify zero and downrange results after a change.
- Ignoring the pack-out when selecting a shot. Reaching a shooting position is only part of the hunt. Consider access to the animal and a workable recovery route before committing.
FAQ
What's the best long range shooting gear for elk hunting?
The best long range shooting gear for elk hunting is a tested rifle-and-optic system, a suitable rangefinder, reliable support, and verified field notes. Choose accessories around repeatable performance from hunting positions rather than maximum advertised distance.
Do I need a target camera for backcountry elk hunting?
A target camera is preparation equipment, not a backcountry hunting requirement. Longshotcameras target cameras suit hunters who want remote impact feedback during range practice; keep them out of the hunting pack unless the trip includes a dedicated range session.
Does a target camera's maximum range tell me how far to shoot at elk?
No, a target camera's maximum viewing range does not establish a responsible hunting distance. Your shooting limit depends on demonstrated field accuracy, conditions, animal behavior, and recovery access.
Is a chronograph better than checking impacts on paper?
A chronograph and paper targets answer different questions, so neither replaces the other. A chronograph measures projectile velocity, while target impacts show where the complete shooting system places shots.
Should I carry a bipod or a shooting tripod for elk hunting?
Carry the support that you have tested successfully in the positions your terrain requires. Compare your pack, a bipod, and a shooting tripod during practice, including their carrying burden and access to rifle controls.
Can I rely on a ballistic calculator without range verification?
No, verify ballistic predictions against actual target impacts before using the information in the field. Check that the inputs and saved notes match your rifle and ammunition, and keep essential information available without relying entirely on a phone.
What should I check before my 2026 elk hunt?
Before your 2026 elk hunt, check current regulations, zero, ammunition identification, field-position performance, equipment access, and the recovery plan. Recheck the shooting system after component changes or suspected damage.
One last thing
Make passing on a shot part of your practice routine. Establishing a stable position and reading a distance should not automatically end with firing. Rehearsing the decision to stop makes your limits an operating habit rather than a note you forget when an elk appears.
The most useful equipment decision is often what stays home. Keep tools that improve preparation available at the range, then carry only the system you have proved you can use in the field.